I de-lid Core i7 9700k and I have no idea if it was worth it
Contents
My old CPU was up for an upgrade (I’ve had it for 5 years), so I’ve built a new one. And since I’ve been studying Machine Learning, I needed way more computing power than I had.
When overclocking my system, I “de-lid” (“de-lidded”?) my CPU, replaced the thermal paste, upgraded to liquid cooling… What did I gain? Well, I have no freaking clue since I did not measure performance before statring. 🤦 Worst mistake ever. Don’t repeat it.
What is my setup?
-
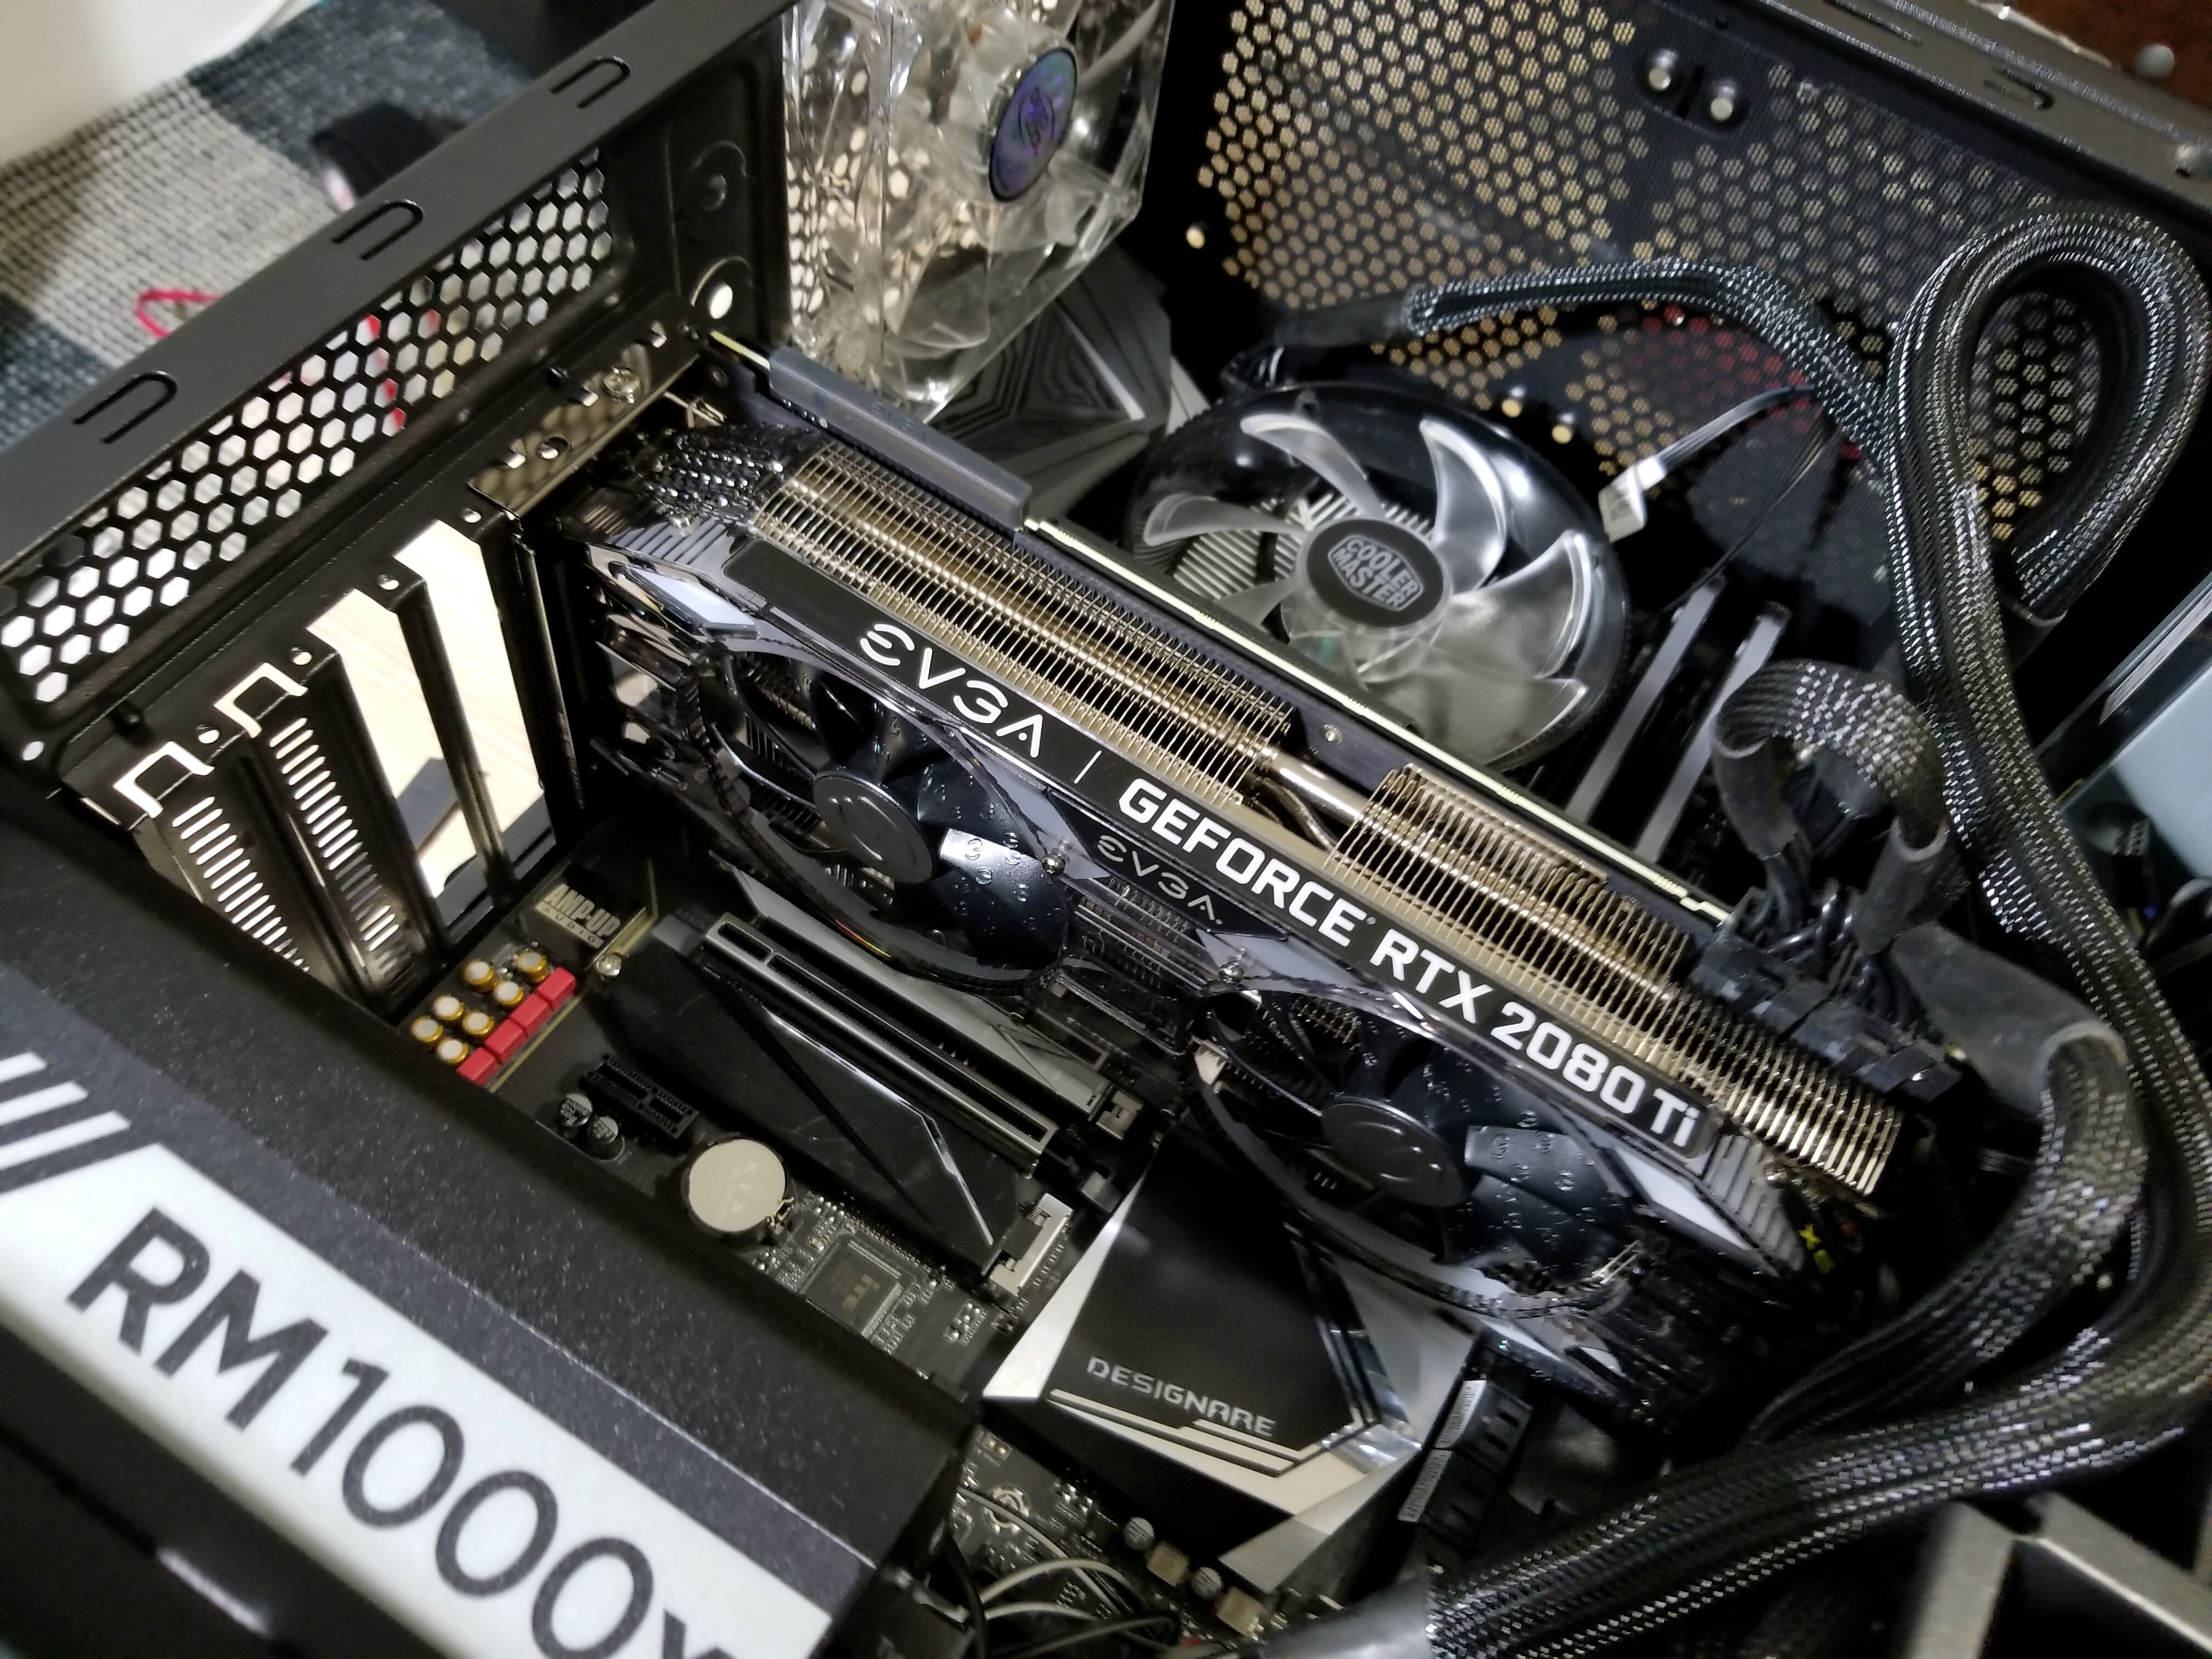
nVidia RTX 2080 Ti. nVidia GPUs are essential for machine learning these days, so I got an RTX 2080 Ti from EVGA (this one works great and will last me through the end of my studies).
-
Core i7-9700k, a 8-core 4.6 GHz “gaming” CPU. For NLP deep learning, a GPU-powered machine learning algorithm will likely not use many CPU cores; instead 1 core will be used a lot. That informed the choice of CPU, and Intel’s Core i7-9700k which reportedly had best-in-class single-core performance.
I later learned that multi-core performance is essential for ML models with complex input data (such as images). The CPU / GPU tradeoff heavily depends on the model and the data transforms you’re working with. If I don’t know anything about the model, I’d probably optimize towards multicore performace rather than single-core performance, and would go with a Threaripper.

For a short period of time, I’ve got the most advanced consumer CPU setup… The RTX demos and “Metro: Exodus” game hame look amazing… and ironically I don’t have any time to play them. 🤓
De-lidding Core i7-9700k
When researching CPUs, I found about “de-lidding”: “opening up” the CPU itself to replace the internal thermal compound with something better. Some Intel CPUs, they say, shipped with shitty stock thermal paste that wasn’t very efficient at heat transfer.
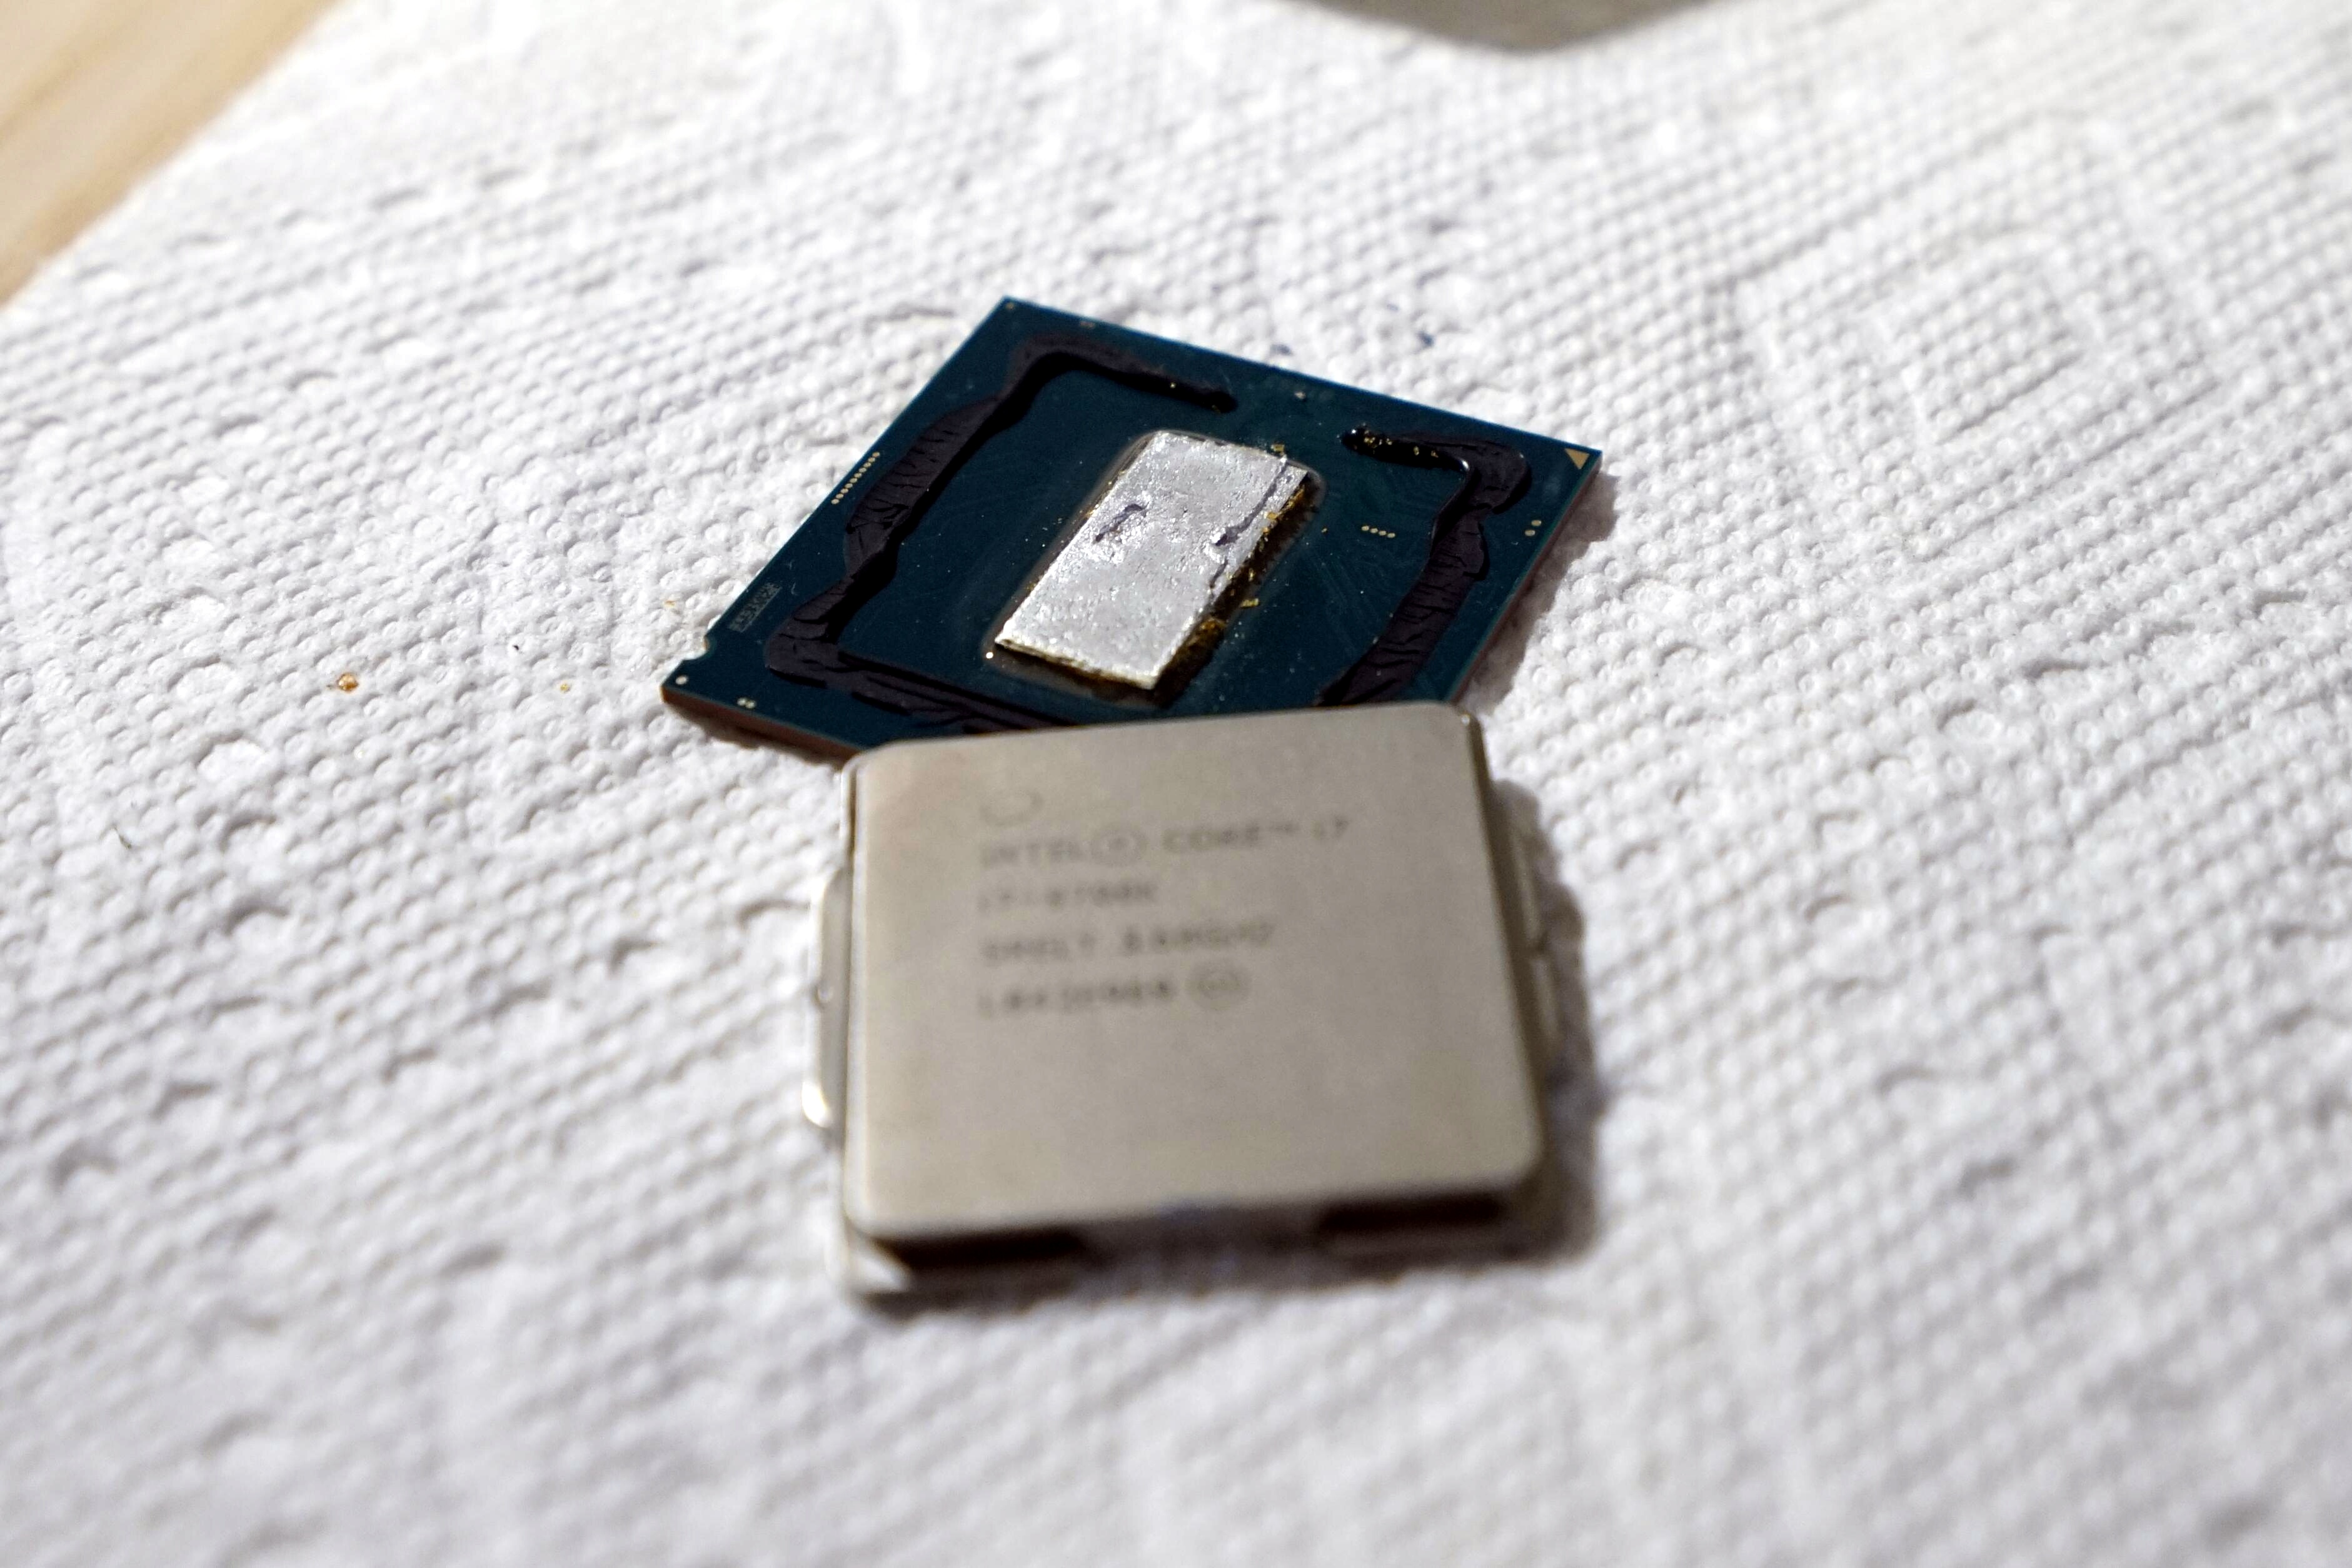
Core i7-9700k, however, ships with some sort of a metallic solder. How do I know that? Because I opened it up :-)
De-lidding was a well-established, well-documented, and well-researched procedure for older CPUs. There are even tools like “Delid die-mate” available to make it easier. My CPU was newer, so there was scant evidence, and most of it was recommending against de-lidding “for most users”, e.g. this video.
But I still did it, and the worst part, I don’t even know if it made any difference because I didn’t measure earlier. I have excuses: I was busy with school and I didn’t have time to measure anyway (“But you still had time to assemble a new PC, asshole!” says the voice in my head.)
Yes, my benchmark scores are through the roof, but they should’ve been through the roof to begin with.
Currently, I run my system at the following (“limiter” is why I didn’t OC it further):
| Component | Stock | Overclocked | Δ | Temperature under load | Limiter |
|---|---|---|---|---|---|
| CPU core clock | 4600 MHz | 5000 MHz | +400 MHz (+8.7%) | 71 C | temperature: 71C is a bit above the comfortable 60s range |
| CPU cache clock | 4300 MHz | 4700 MHz | +300 MHz (+7.0%) | 71 C | I have no idea how to test so used the same speedup as above |
| GPU core clock | 1935 MHz* | 2065 MHz | +130 MHz (+6.7%) | 72 C | Atomic Heart demo crashed at +140 (Fire Strike crashed at +150) |
| GPU memory clock | 7000 Mhz | 8200 MHz | +1200 MHz (+17.0%) | 72 C | it kept working but I got scared… |
* For some reason, the manufacturer website lists base core clock as 1635, but my benchmarking software as 1935. I’d trust the software. By the way, stock temp on my GPU was 66C under load.
I used Specy to measure the temperature, Precision X1 to overclock the GPU, Intel’s shitty-looking tool for the CPU. I used Unigine and 3DMark benchmarks to load the GPU, and CPU-Z to load the CPU.
What did I learn?
CPU cooler matters
CPU cooler matters, and matters a lot. I initially thought that I screwed the CPU up by de-lidding. The temperatures under load were up to 92C (!!!) That’s too much. Various overclocking forums recommend keeping an overclocked modern Intel CPU in the 60-s.
Replacing the basic cooler with a 240mm liquid cooling solution from Corsair helped.
That being said, I ran that CPU in the 80-85C range for days at a time (while training neural networks), and everything turned out fine. I could’ve just been lucky though.
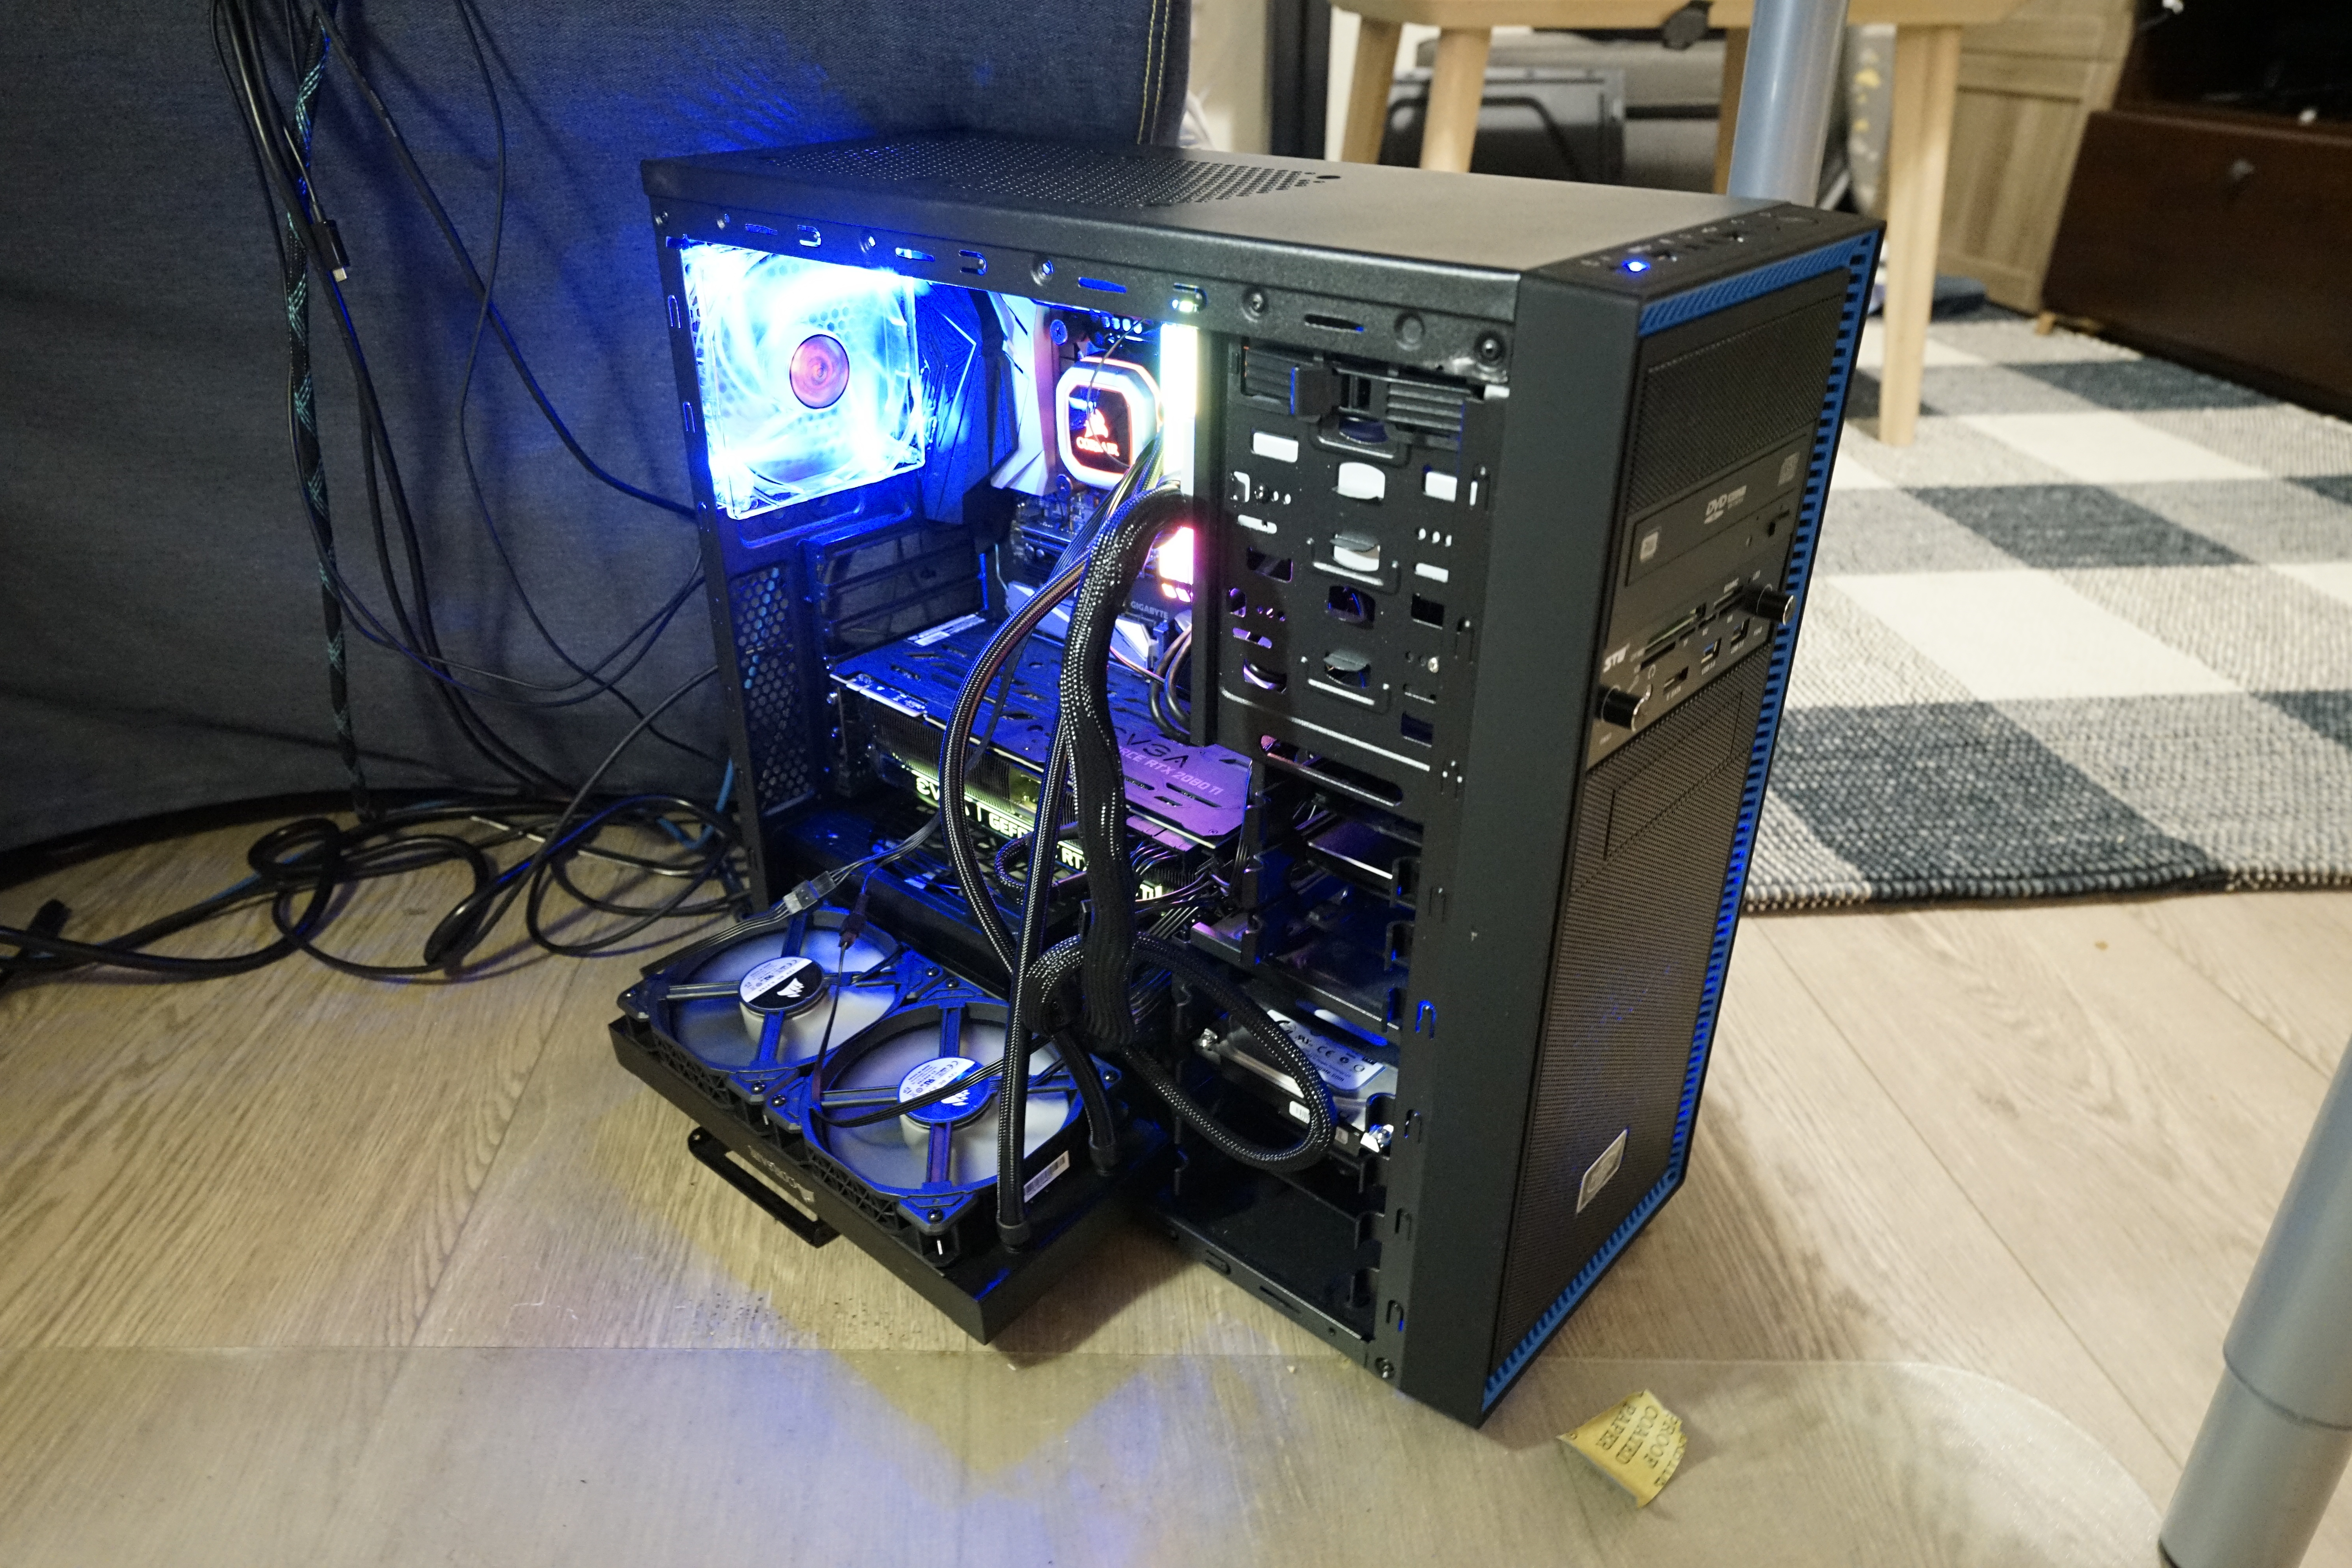
Liquid cooling takes up space
Turns out, there’s not enough space in my computer case for the 240mm liquid cooling heatsink and the fans. My case is “only” 18 inches tall; I guess I’m up for an unexpected upgrade. My CPU looks like it “vomited” a radiator.

Building PCs is tedious
It was exciting the first time, when I was a 12 year old boy. Today, turning a million screws seems no better than assembling an IKEA drawer set. Getting best performance by tyning overclocking “hyperparameters” and then putting the results in a spreadsheet looks way too much like work or school.
De-lidding in more details
Tinkering with the device in a manner described in this post will definitely void your warranty. I’m just sharing my experience; I’m not describing some manufacturer-recommended procedure. Do not attempt unless you know what you’re doing and unless you’re prepared to buy another CPU.
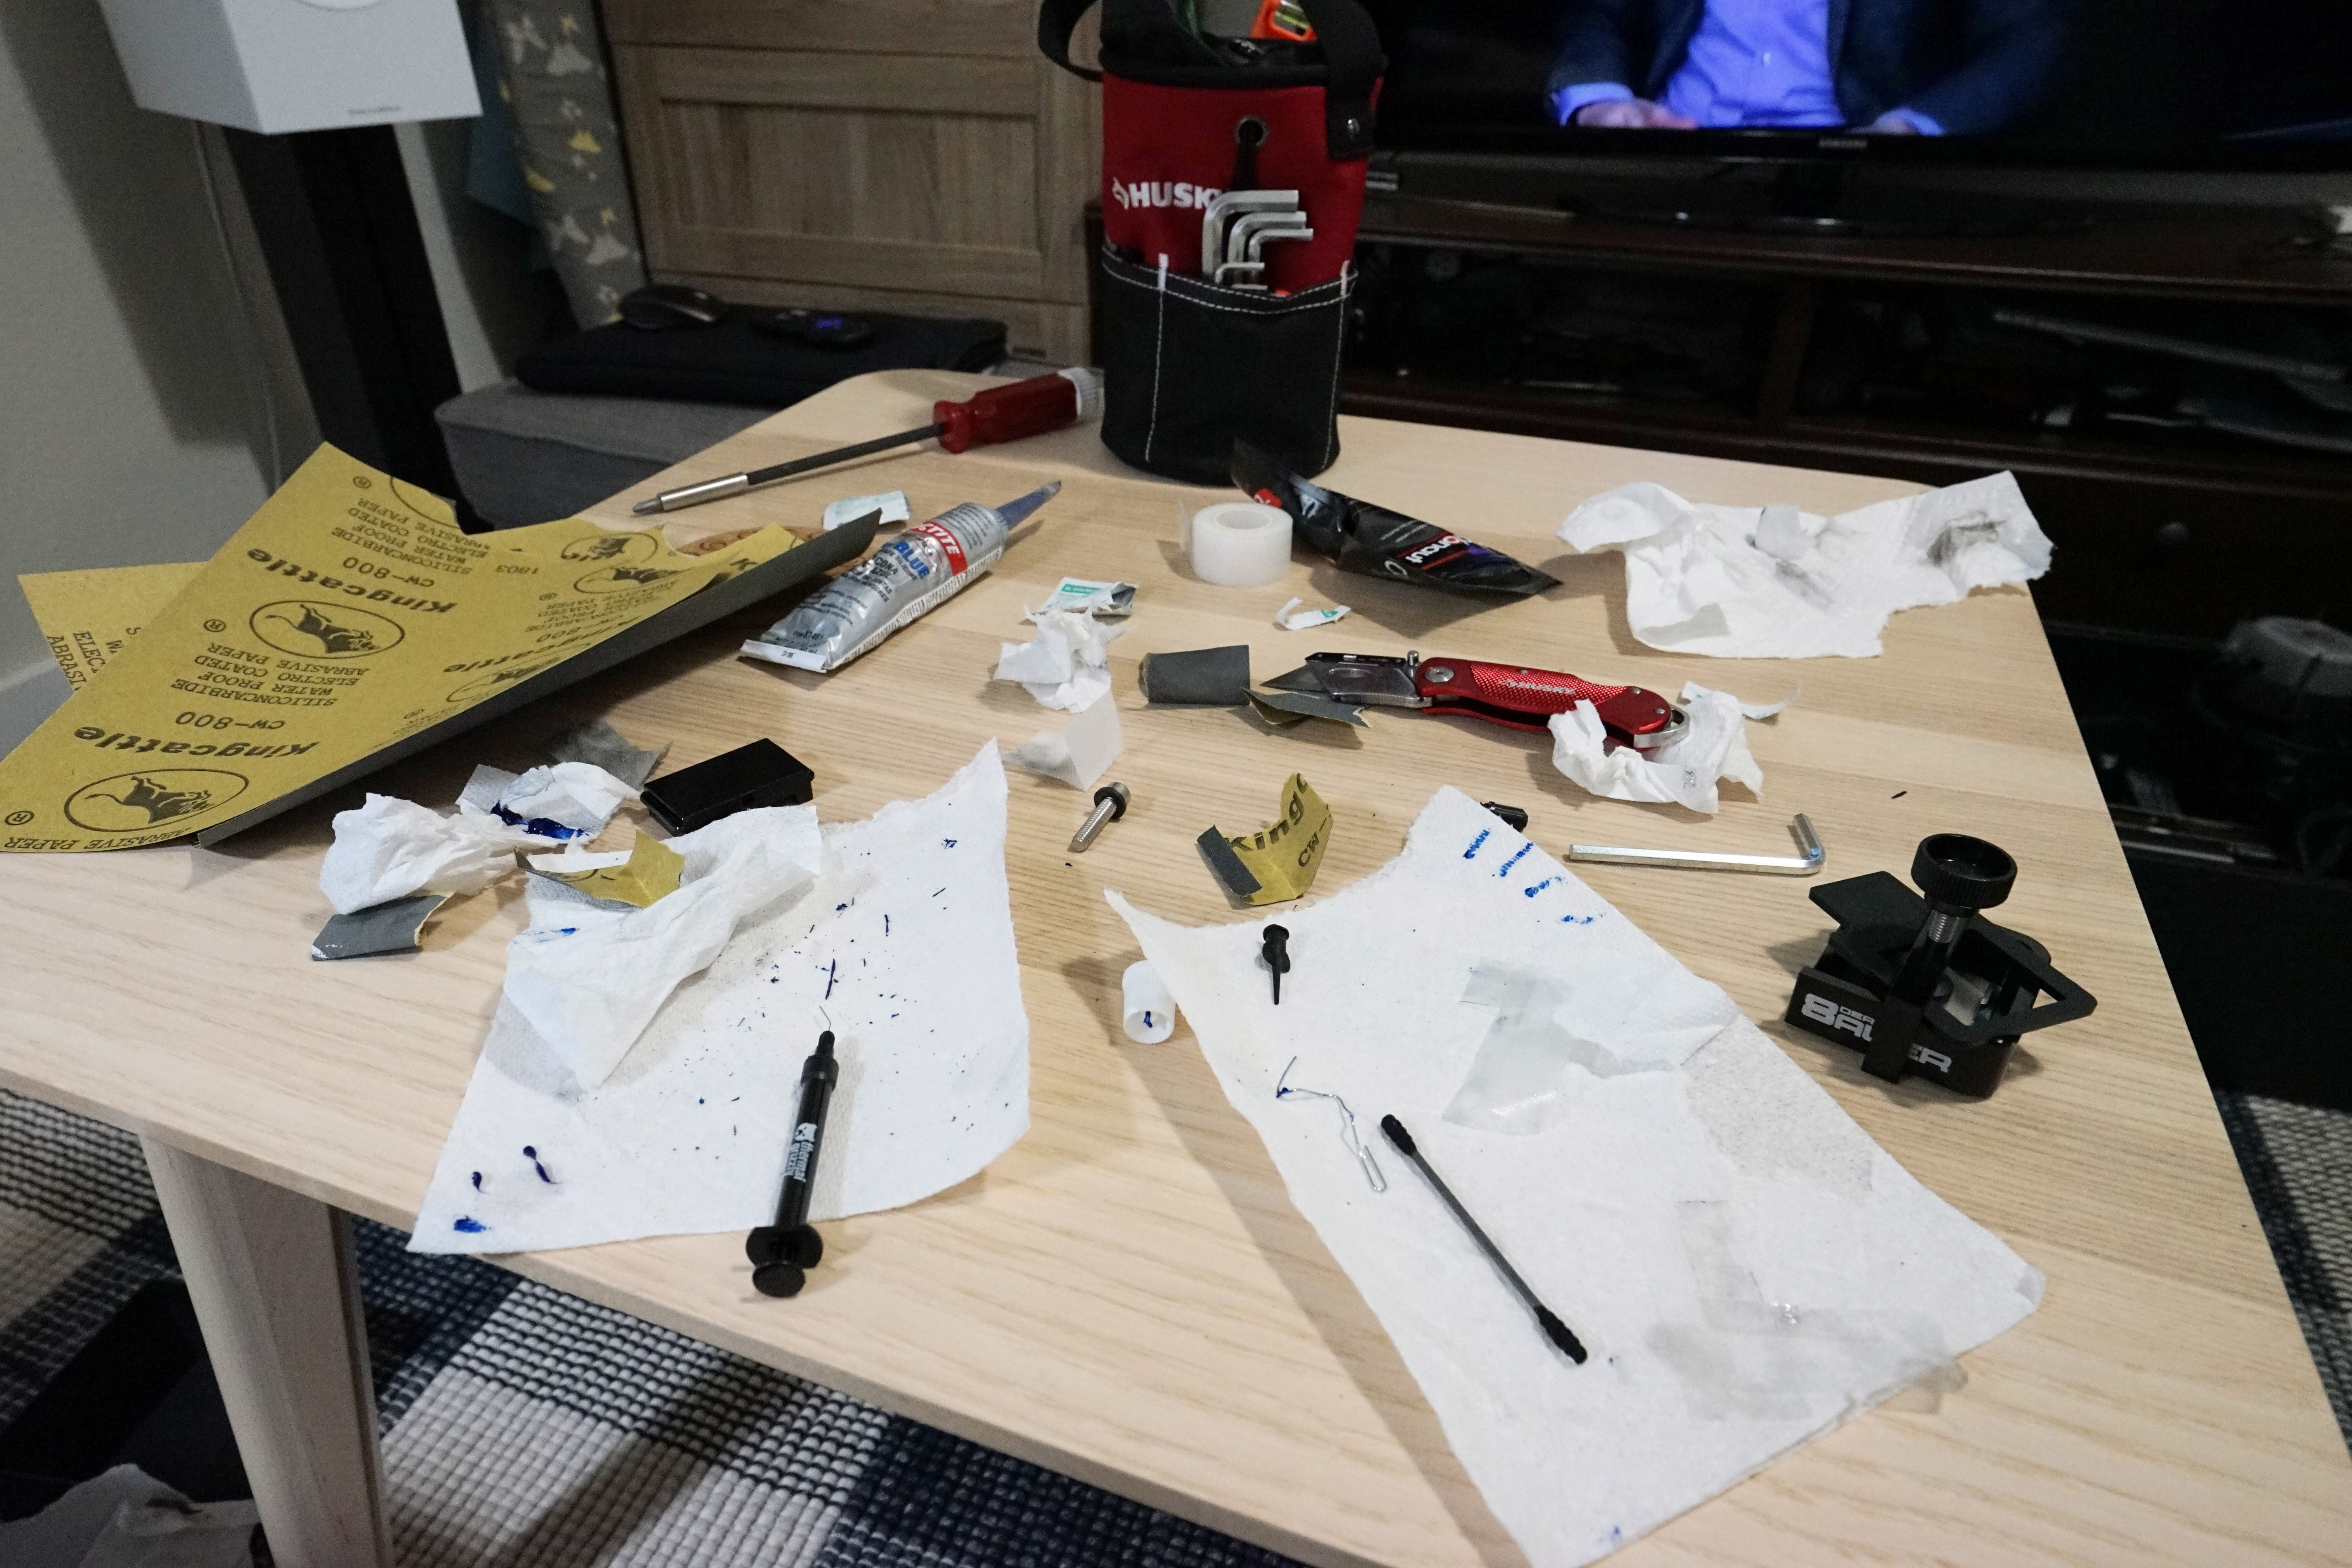
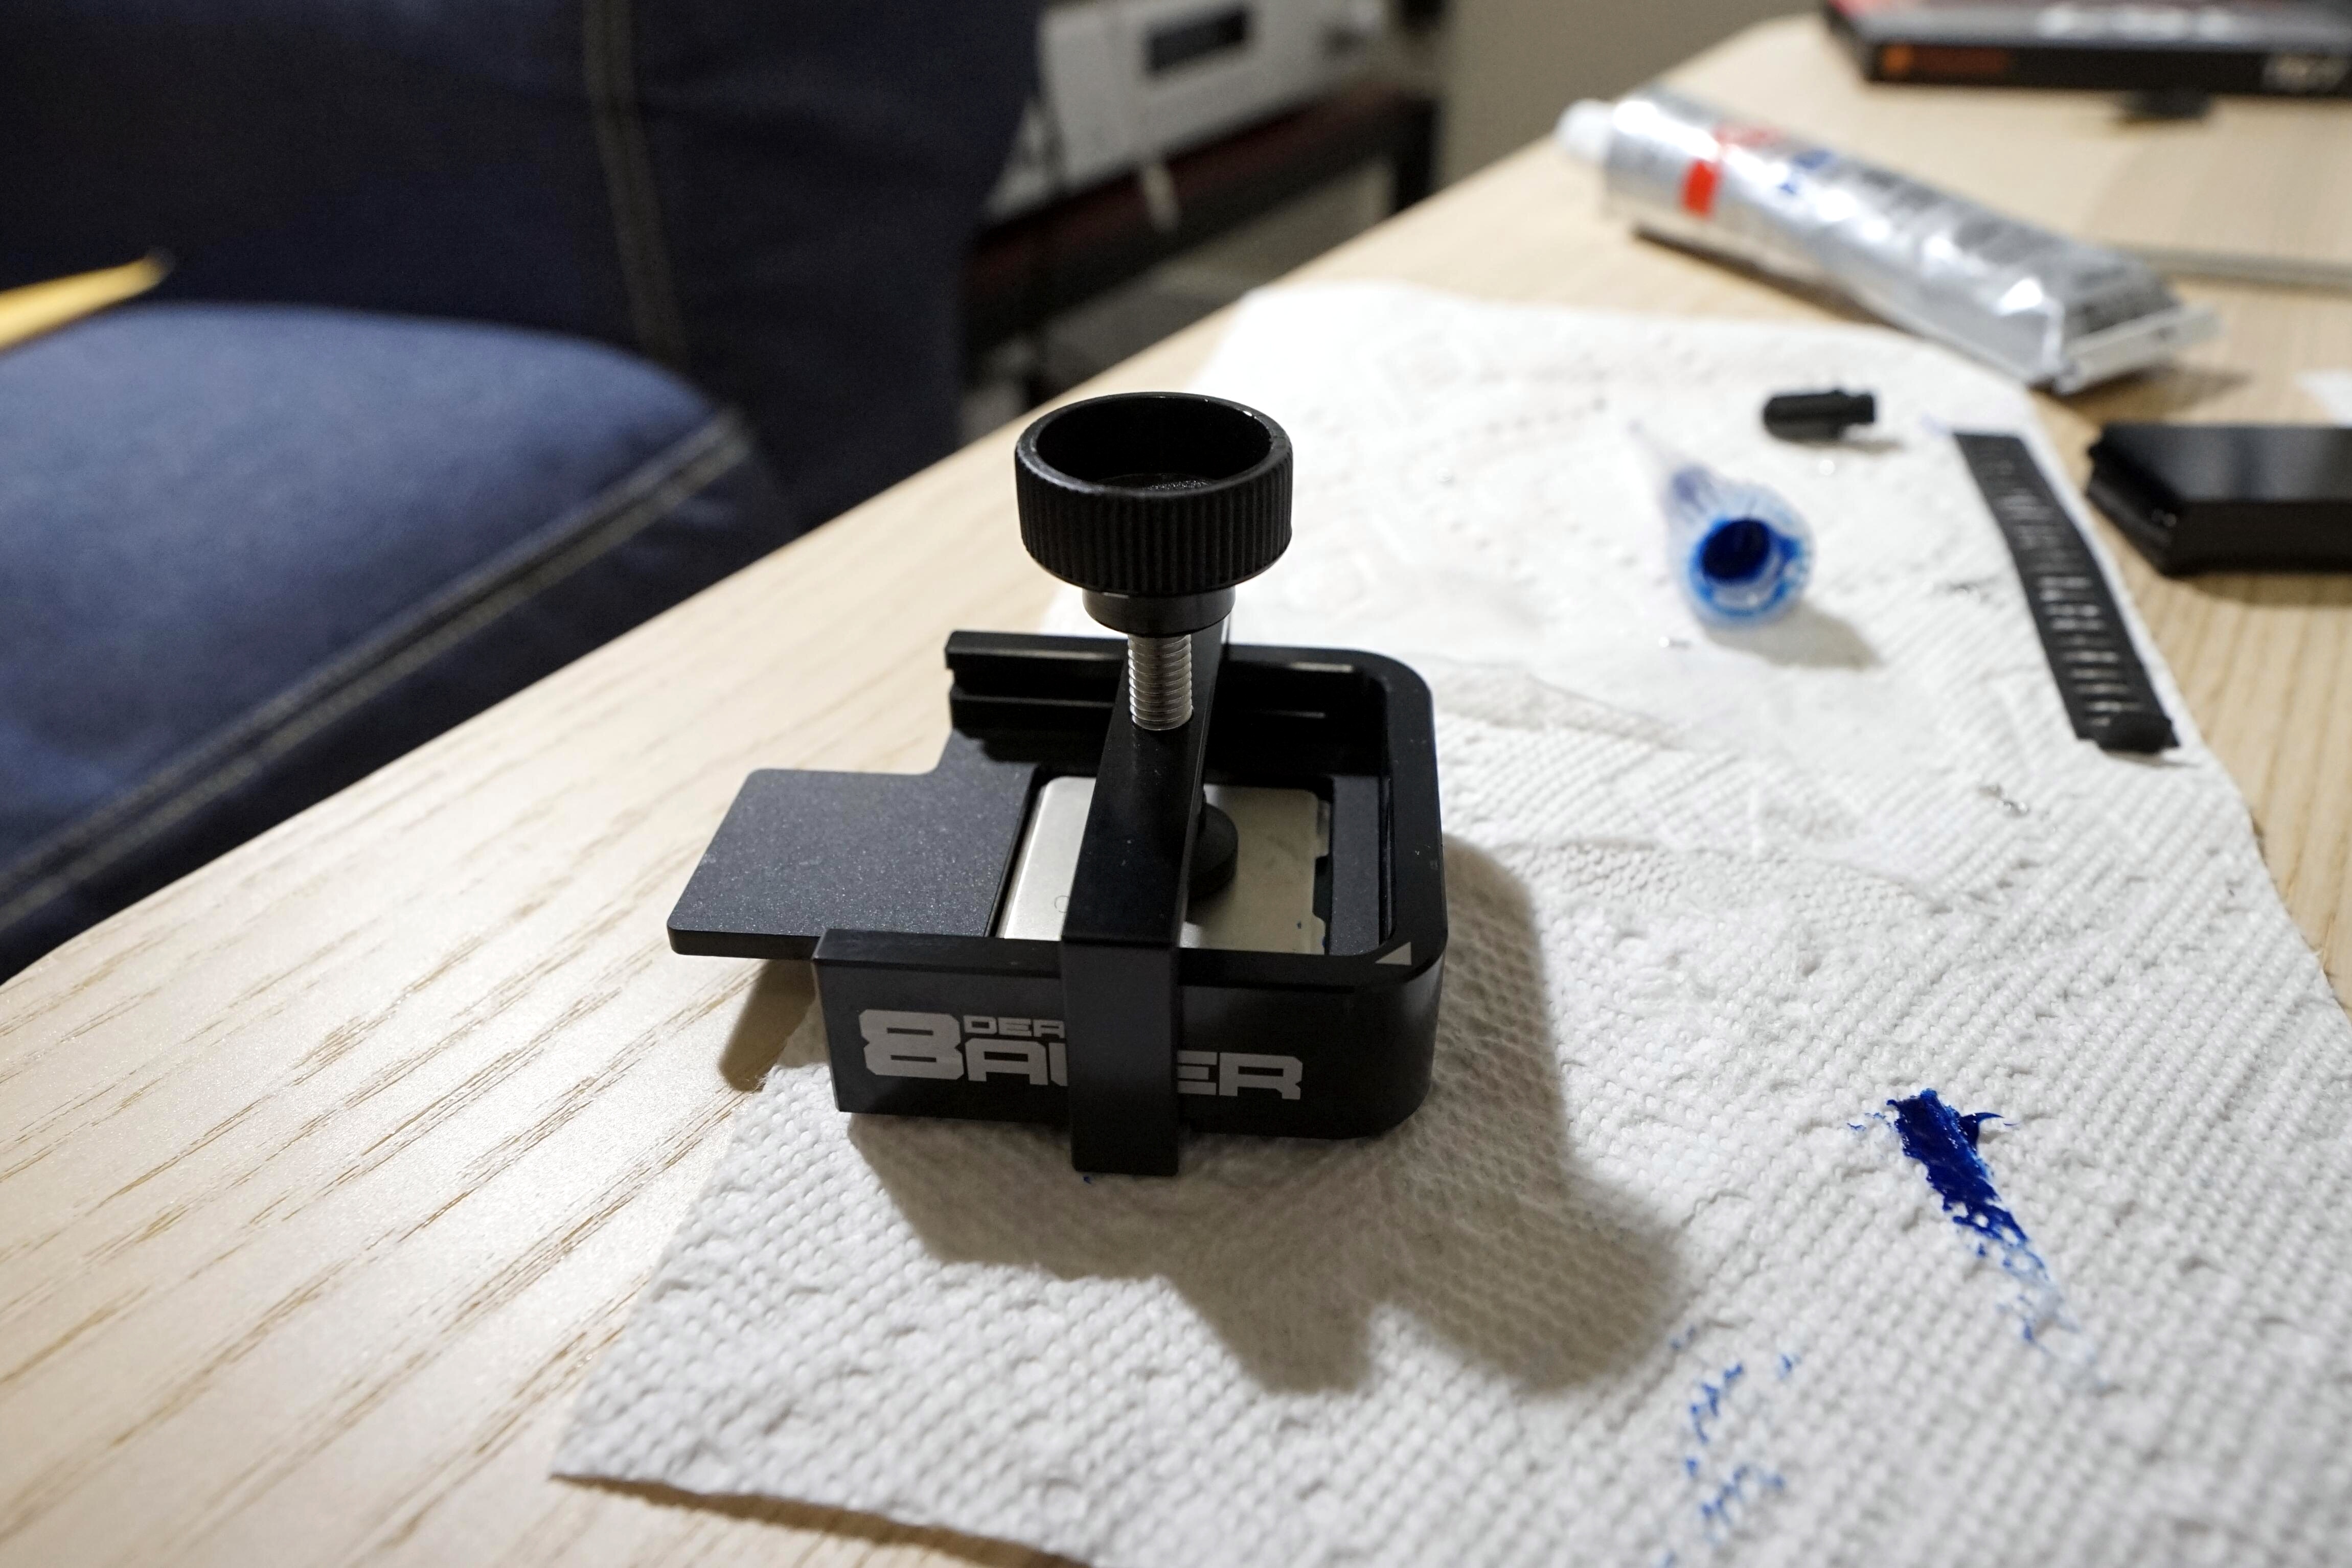
Here’s what de-lidding looks like. You’ll need the tools:
- der8auer Delid Die Mate 2 to remove the lid.
- Cardboard knife / razor / small kitchen knife to clean out the solder.
- Paper towels.
- really good “liquid metal” thermal compound because if not this, then why bother? Buy at least 2-3, because 1 pack is literally for 1 application, so if you screw it up (and the first time you will) you’ll need more.
- Medical tape or some other non-sticky tape (like a painter’s tape) to protect circuitry from liquid metal.
- A set of very fine sandpaper, 2000-3000 grit. This is to remove the solder and excess liquid metal when you screw up. You can skip this if you’re very patient and careful with sharp instruments.
- Silicone glue that can withstand heat and can glue metal (the CPU heatsink) back to the fiberglass CPU base (some say it’s optional tho).
- It’s best if your toenails are due for a trim, as toenails is the best tool for Step 3. (You can also use a non-sharp metal object or a credit card).
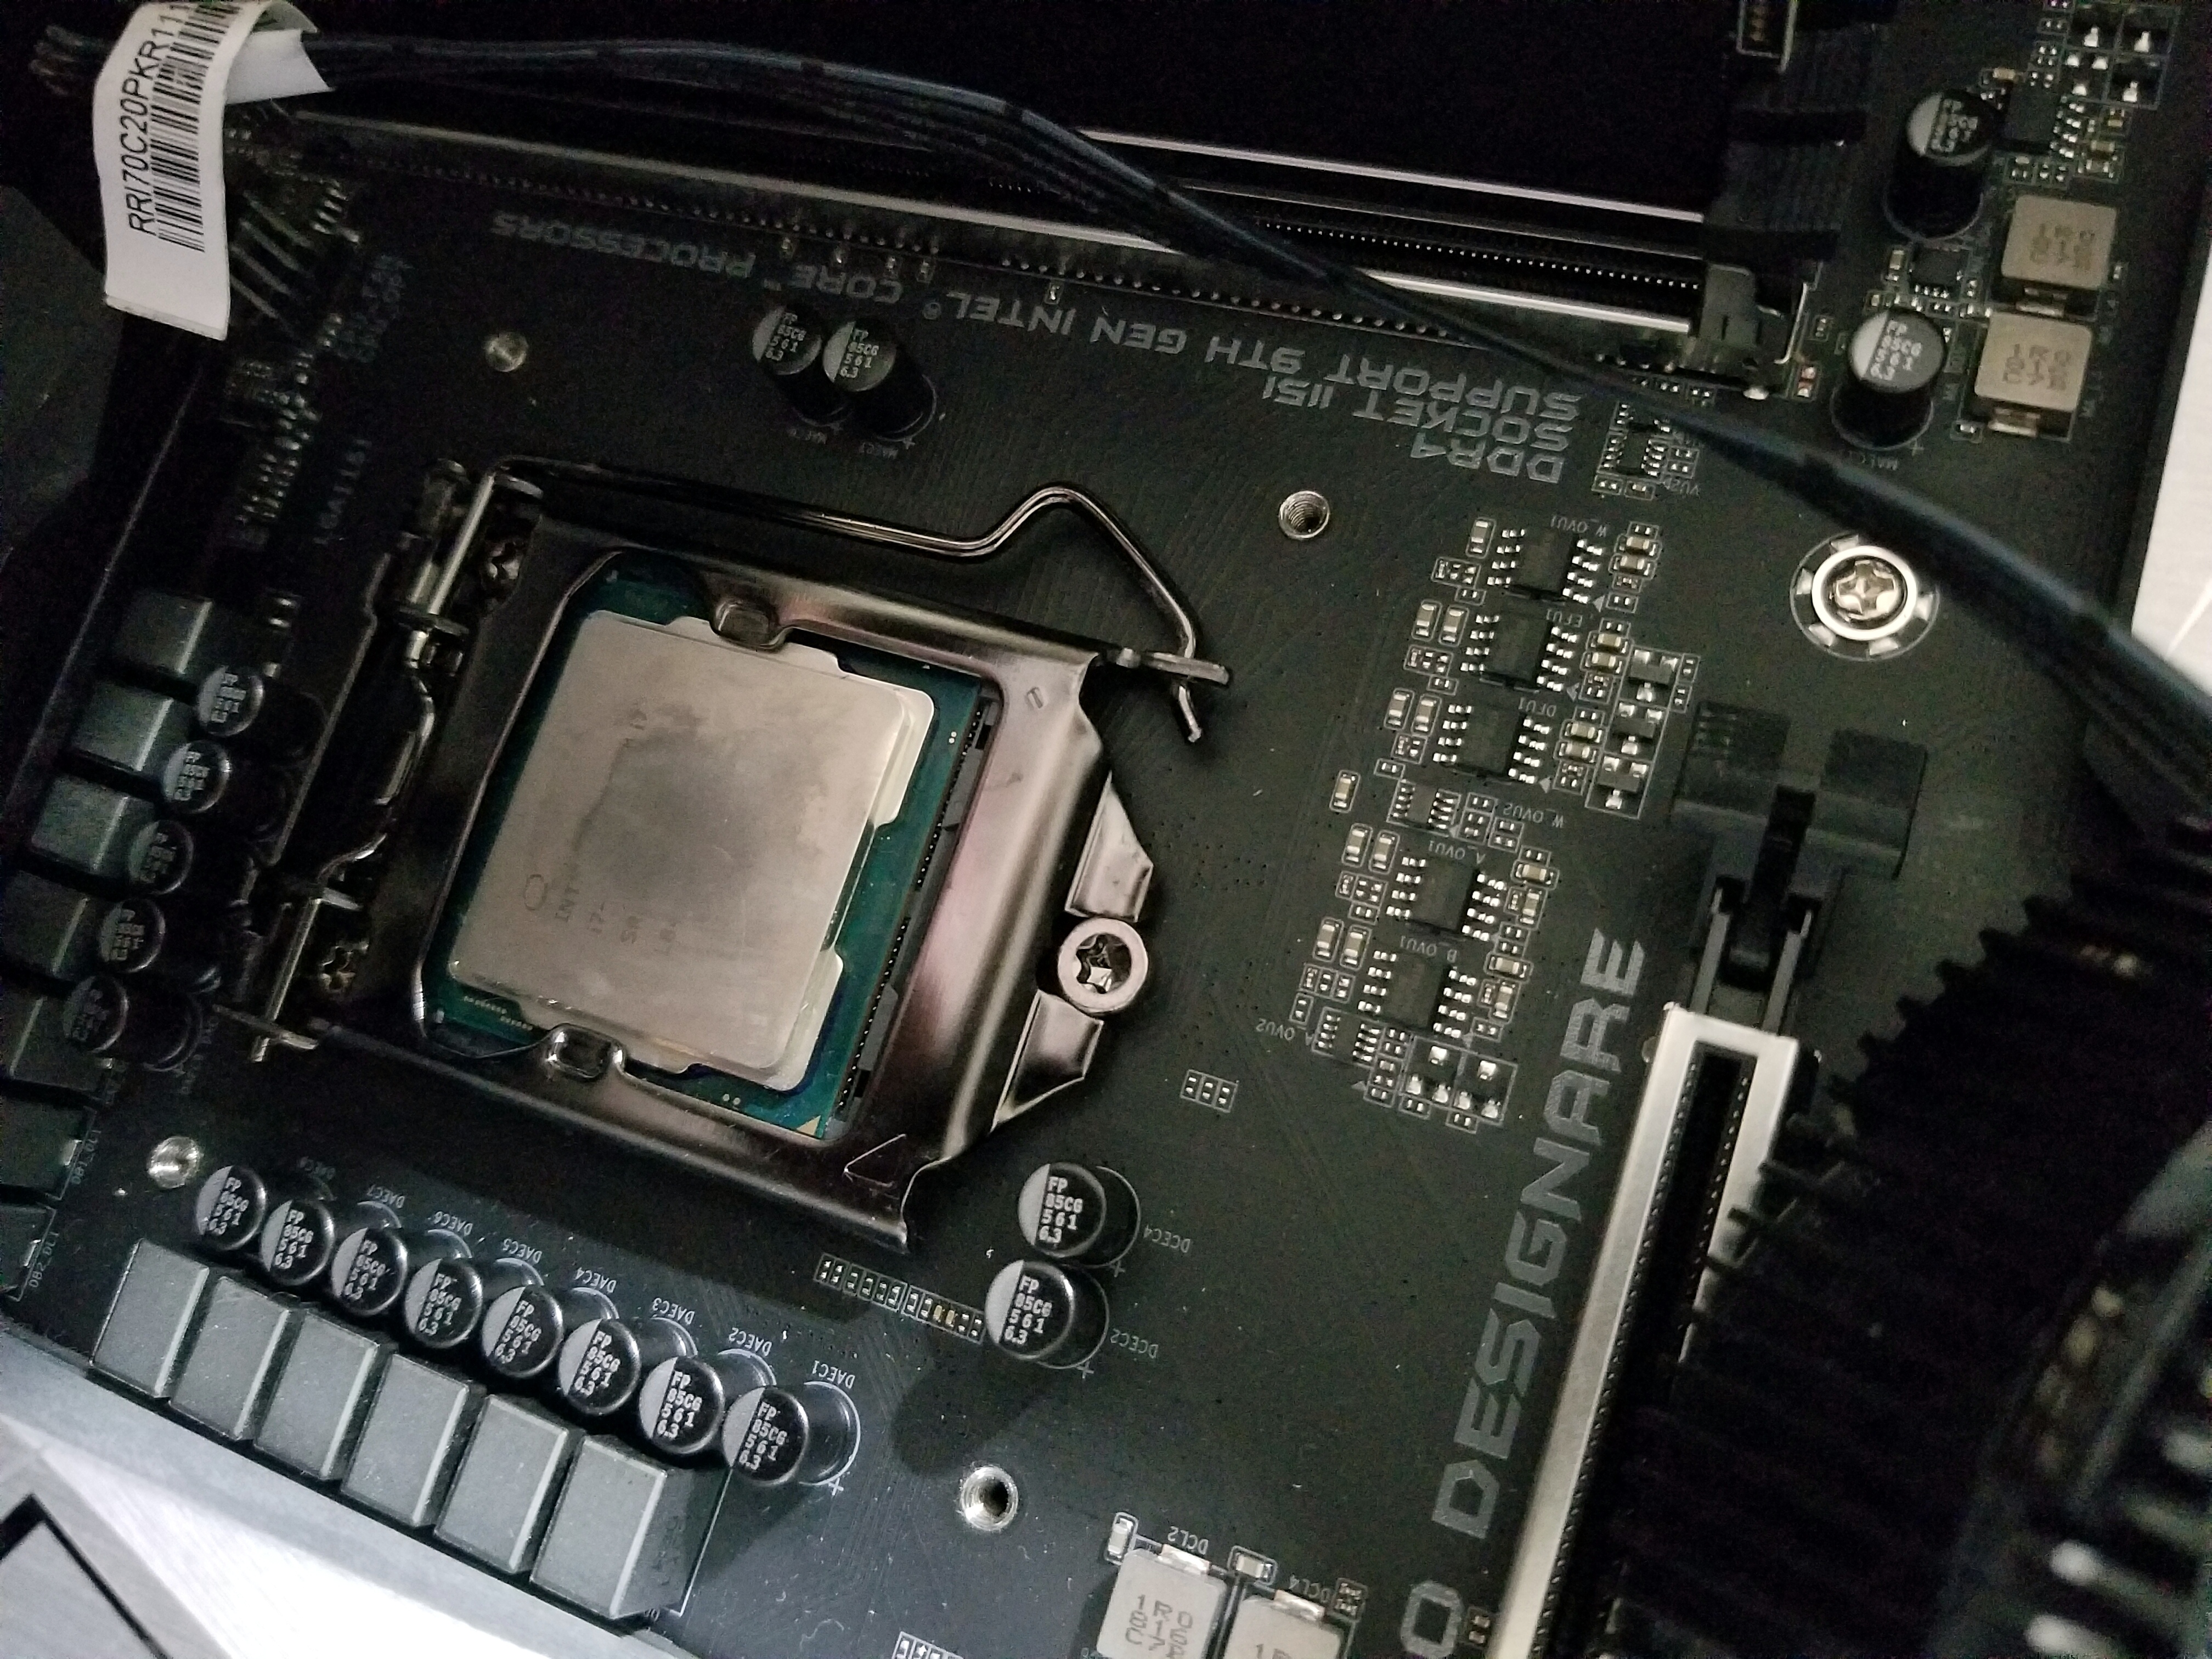
Step 1: Plug the untampered CPU in, and measure
Measure your performance first. You will spend hours assembling (took me 2 hours), delidding (4 hours), and then overclocking (5 hours) your PC; spend 20 minutes testing your assembled PC first. Use this:
- CPU-Z has a cpu load-test.
- Specy will show you a temperature graph (click on those green squares).
- Precision X1 will show GPU graphs (other use Afterburner)
- Even the free version of 3DMark will save your results online so you don’t have to write them down.
Step 2: Remove the lid!
Take the CPU out, clean up the thermal paste from it (you have it on because you measured first, remember?). Now use the Die-Mate tool as instructed in the manual, or watch it on youtube.

You’ll find that the lid covers literally nothing special. Just another black box.
Step 3: Clean out the thermal compound.
No, don’t use your toenails yet. That’s where you take out your exacto knife or a razor, and slowly and patiently scrub it out. That’s where you also understand that this whole thing is a waste of time, and you wish you hadn’t done it. Too late.
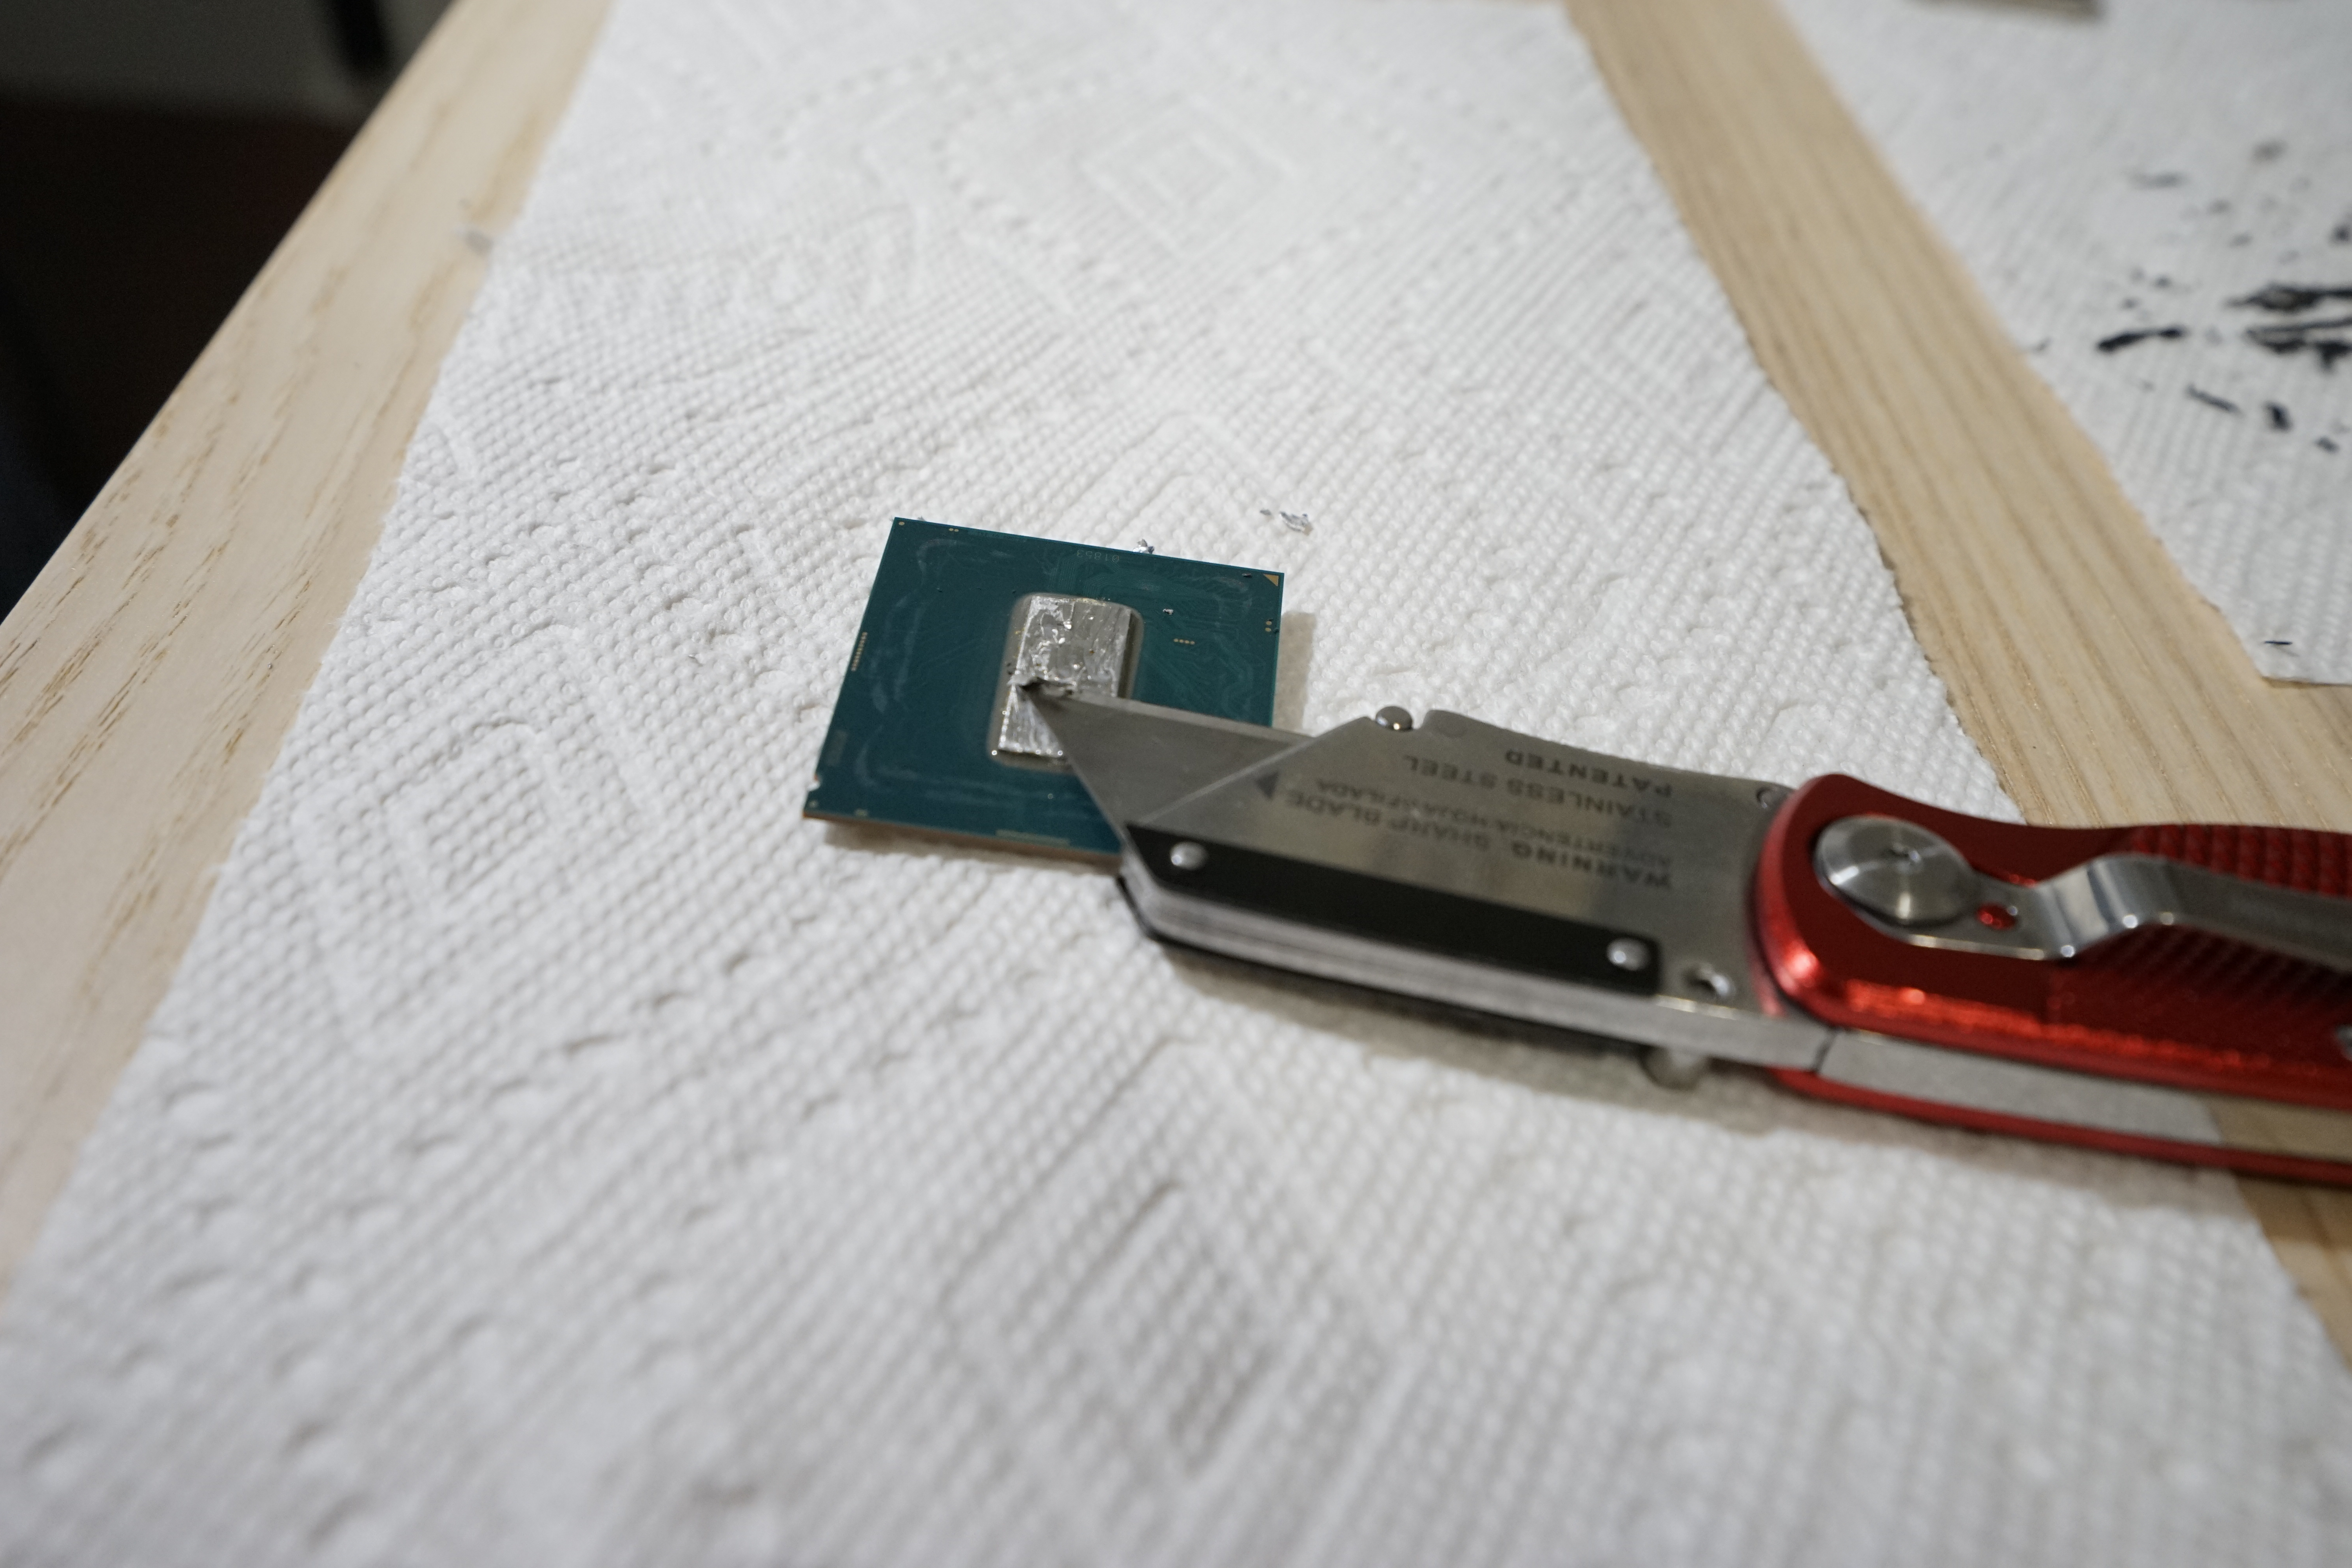
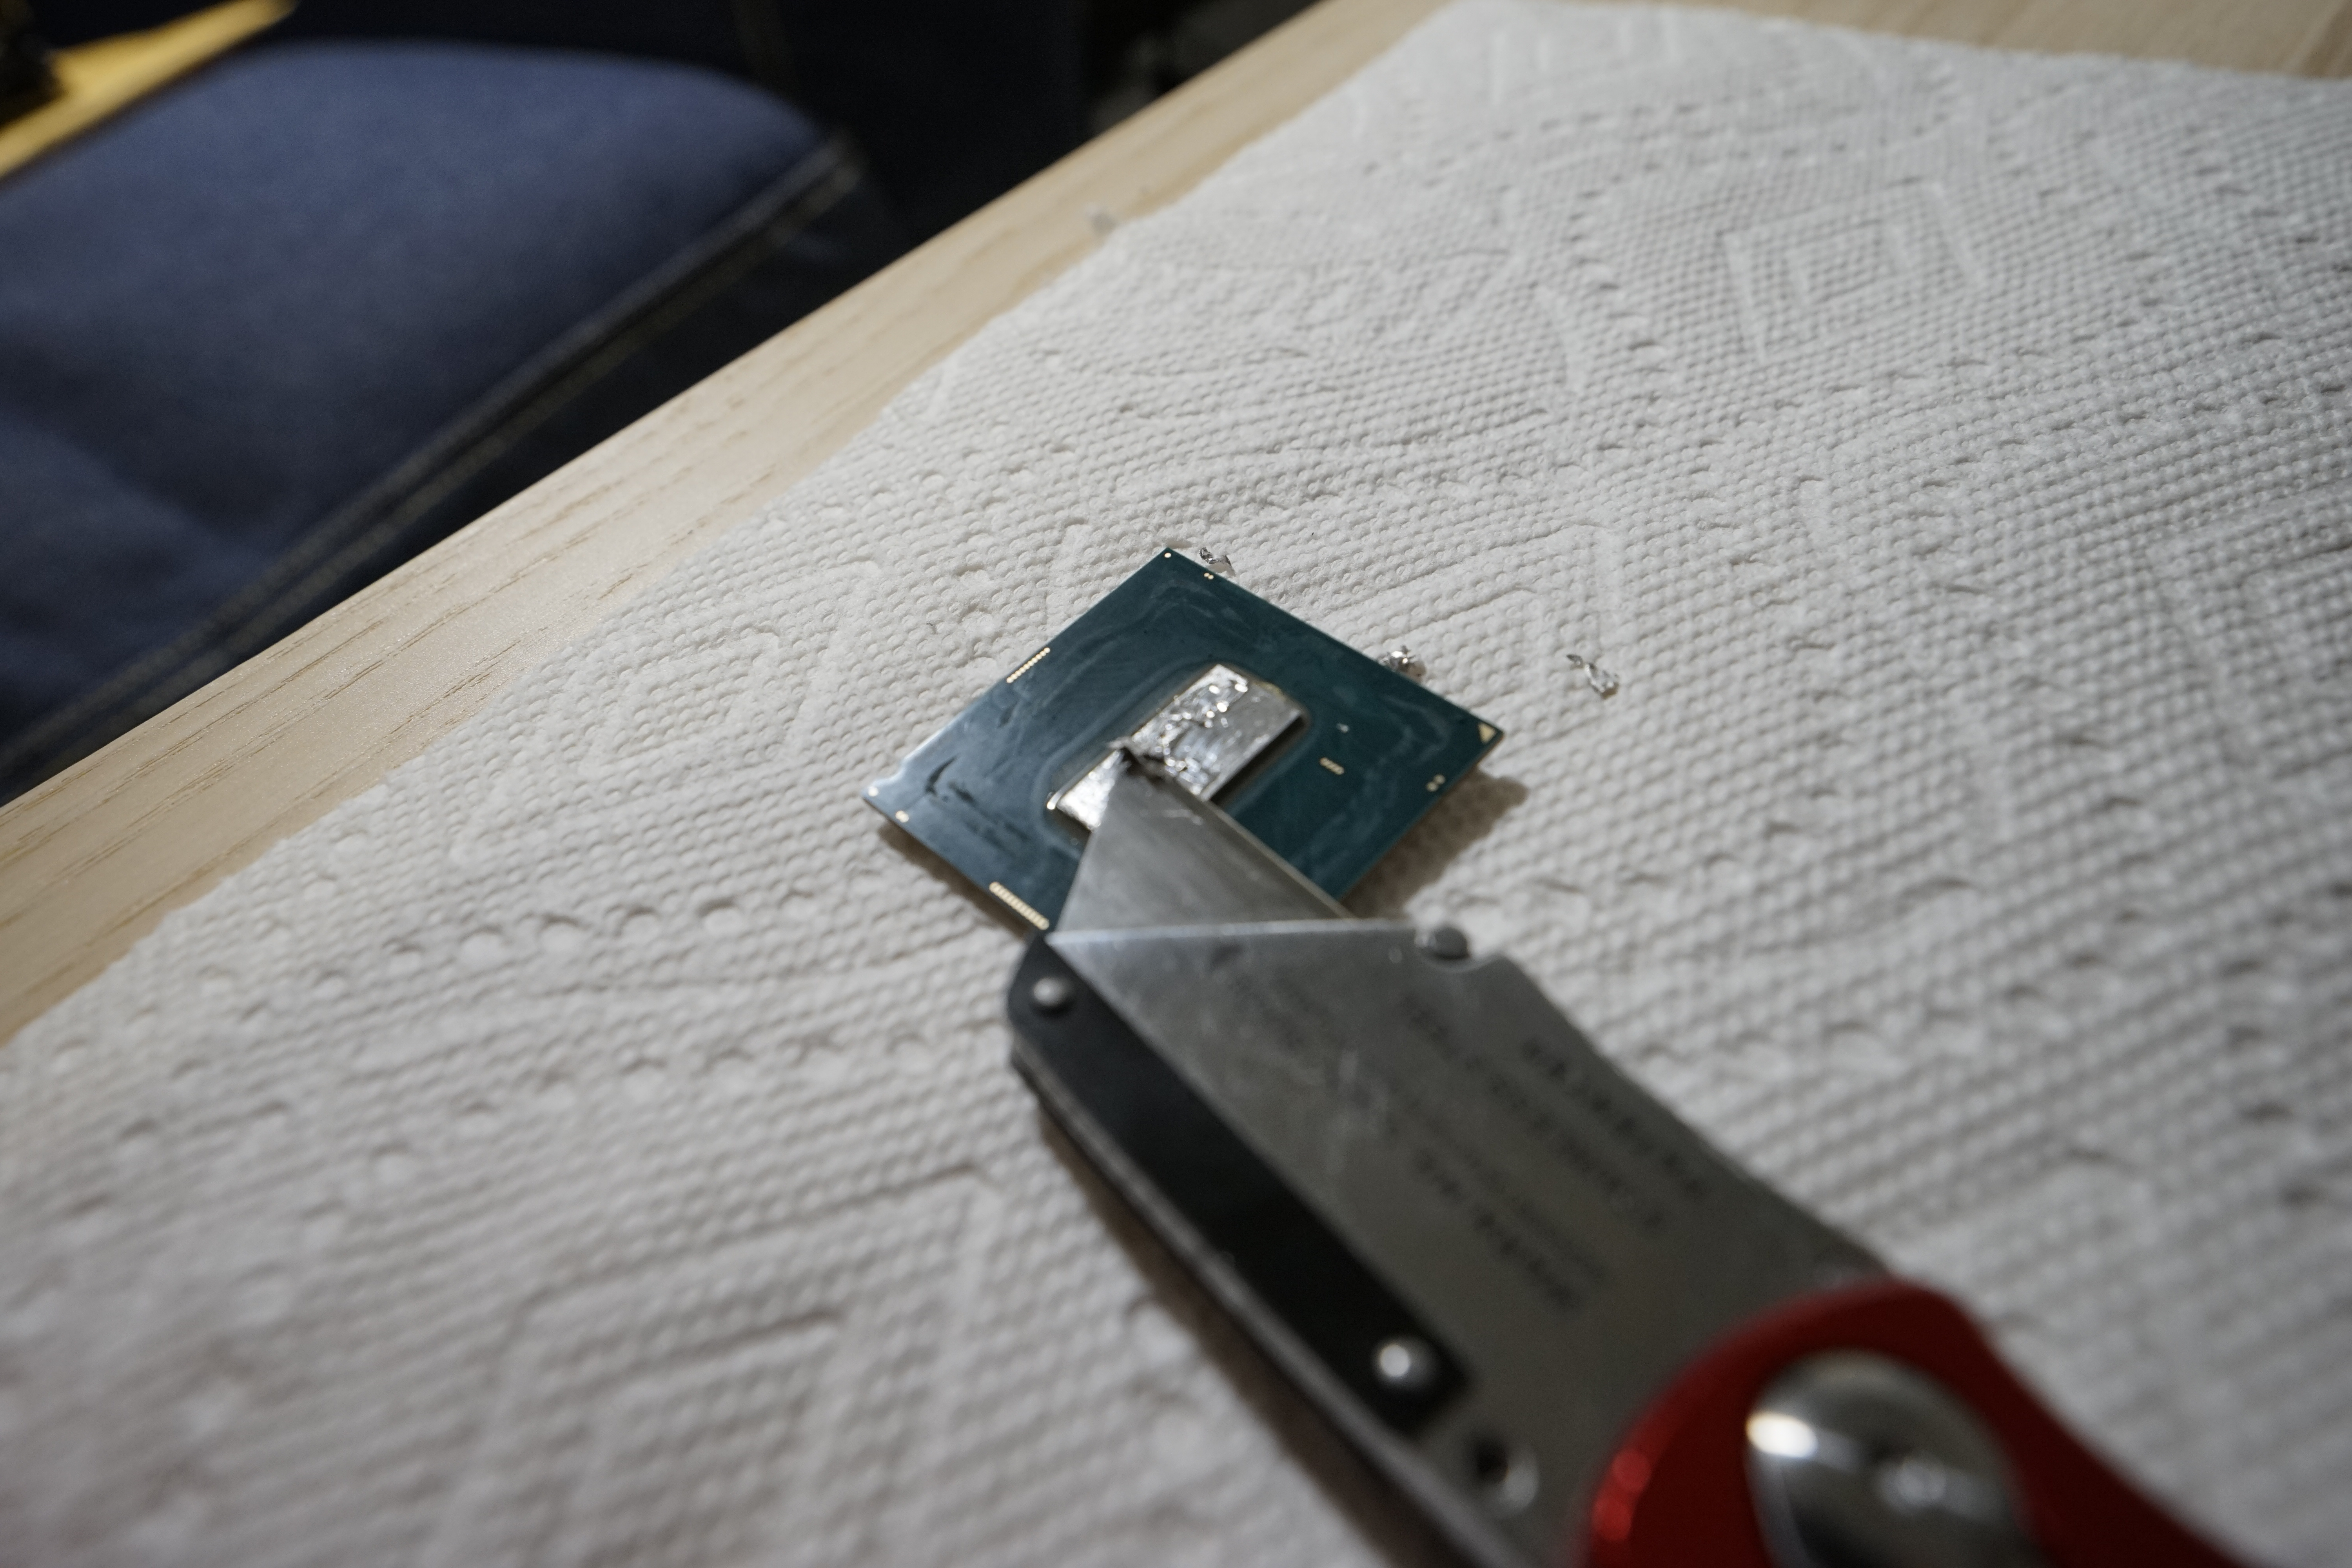
Once you’ve removed most of it, use fine (3000 grit or more) sandpaper to clean out the rest.
If your’re re-doing your prior work and scrubbing out liquid metal, be very careful! Do step 5 first (add tape), and then wipe it out with a paper towel. Be generous and never swipe the same side of the towel again: liquid metal will go right back.
Step 4: Clean out the silicon glue using your toenails or a non-sharp object
Toenails will just work, and a knife might damage the small metal components under it. Credit cards, or non-sharp metal or sturdy pieces (find some case component you aren’t using) come handy too.
Oh, and you can use sandpaper (this time a coarser one, like 300 grit) on the heat spreader.
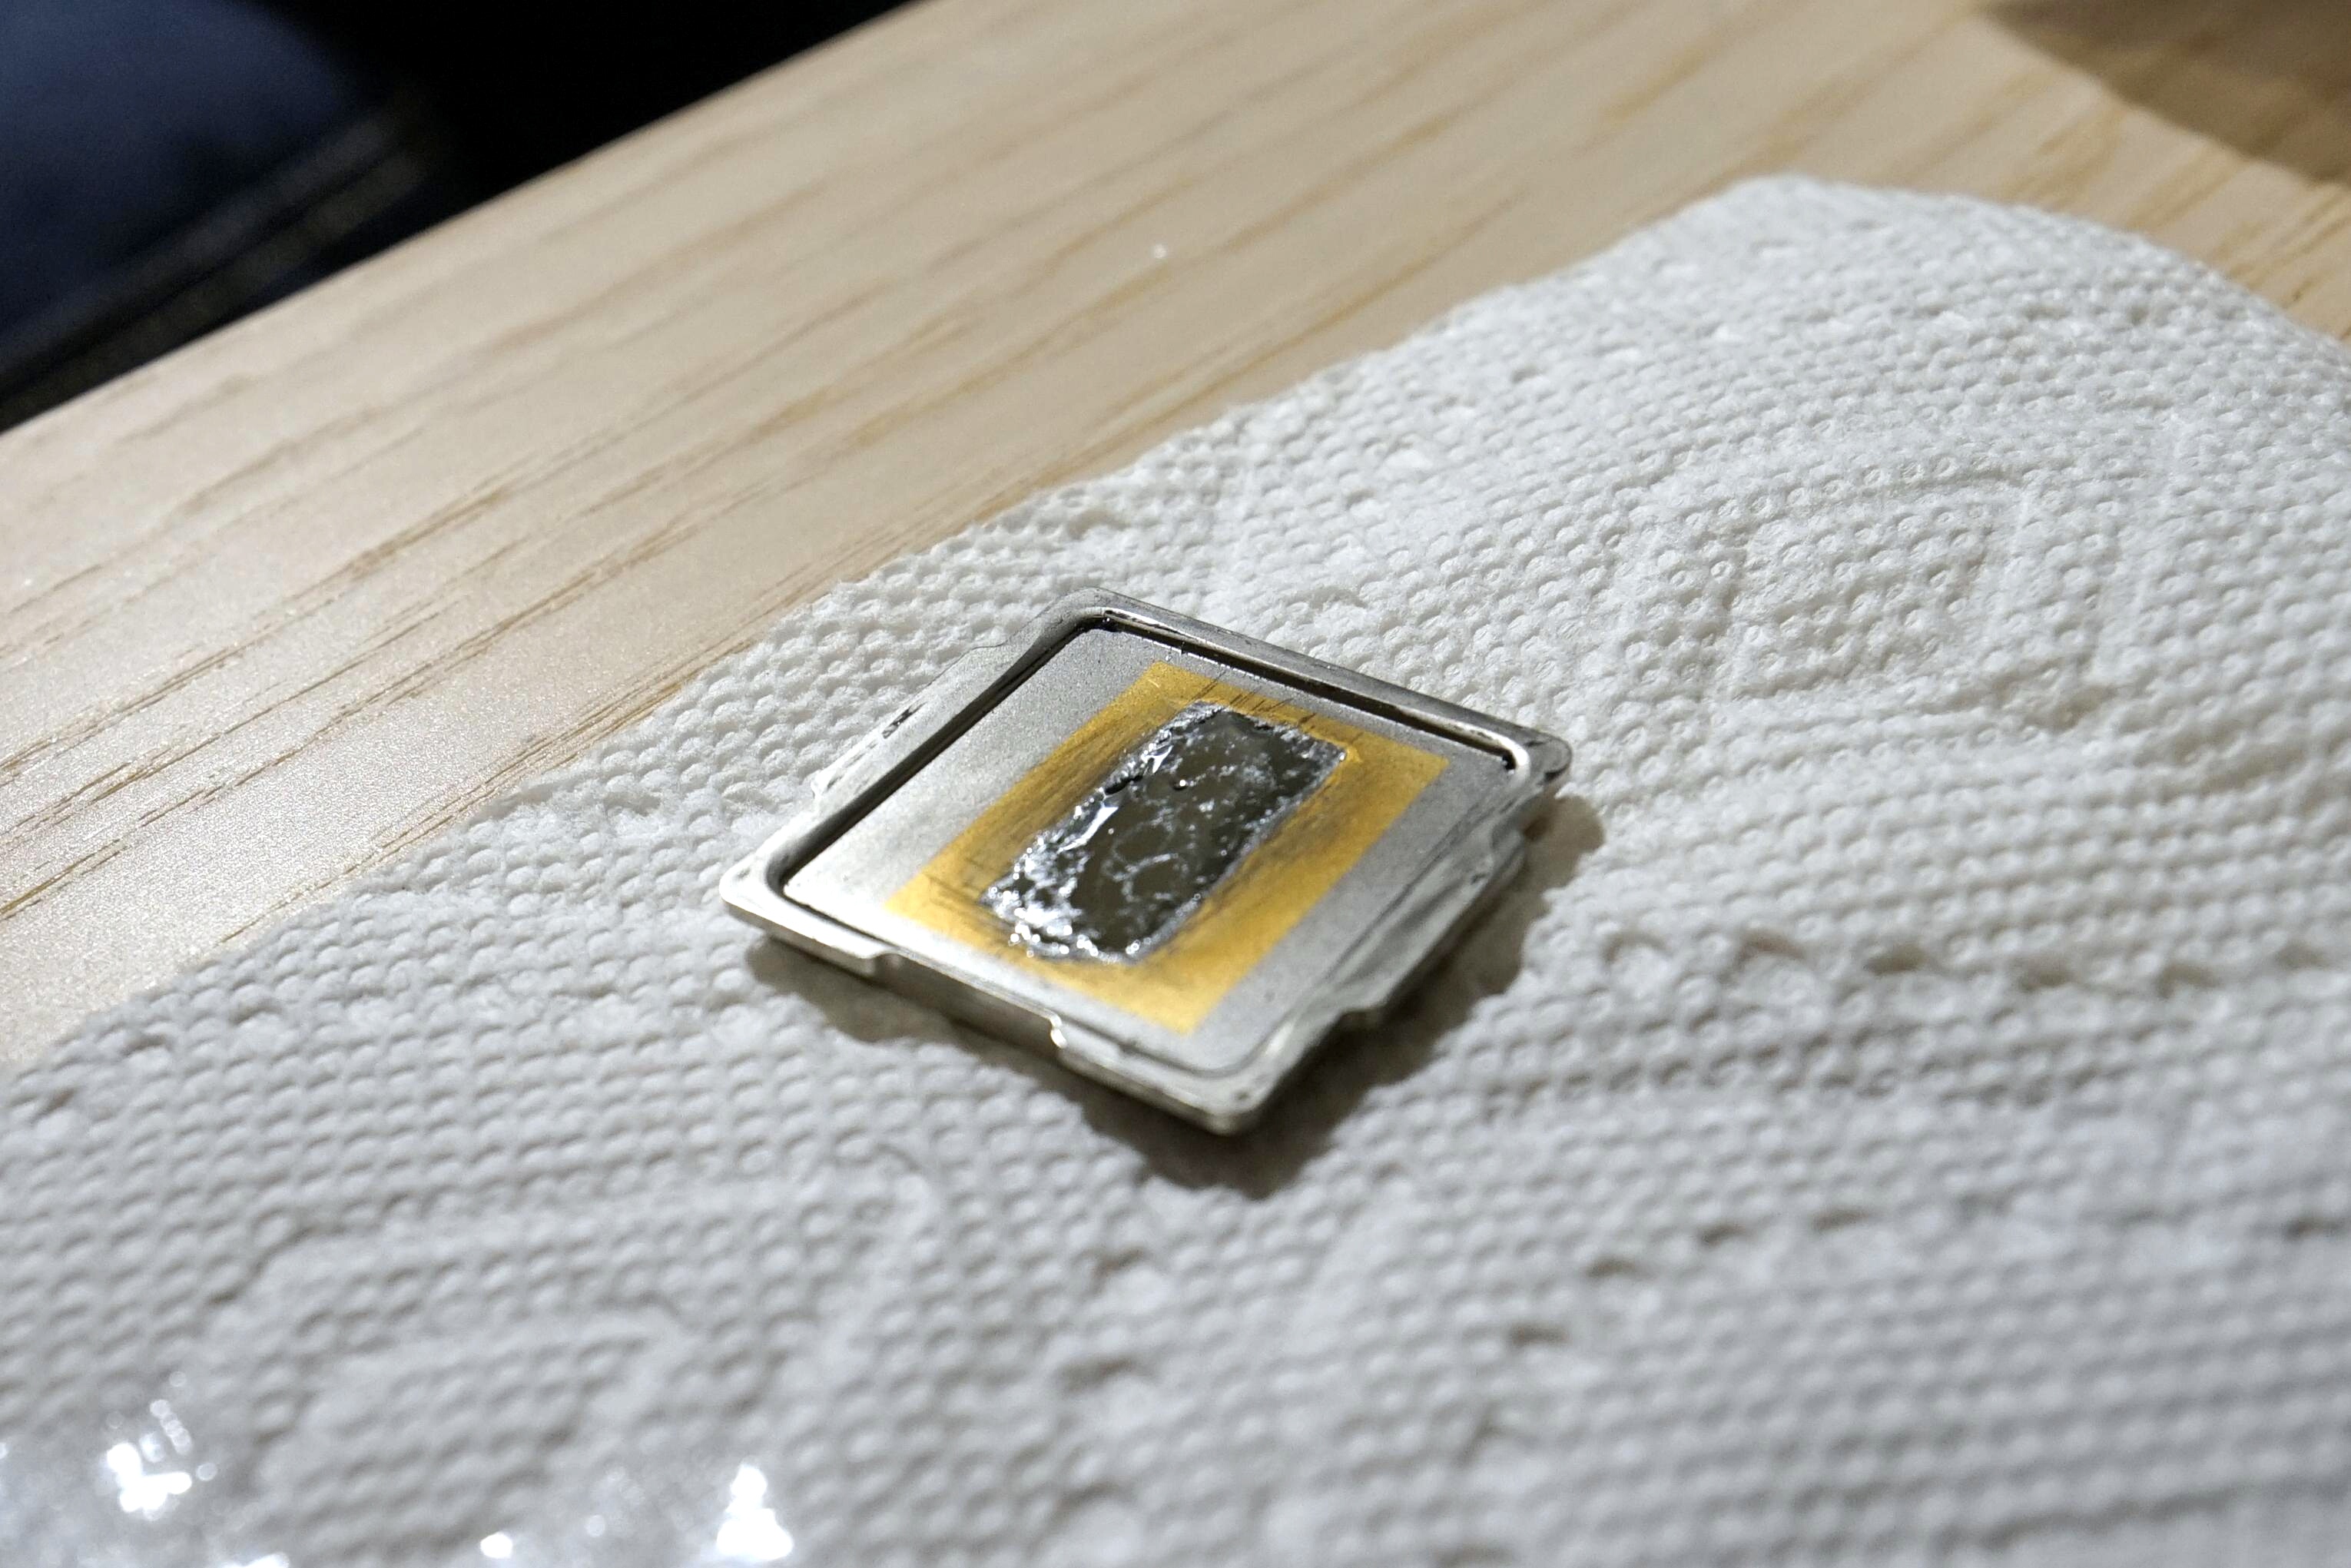
Step 5: add tape around the die
Liquid metal is conductive so it’s extremely important none of it gets into the contact with circuitry (actually it’ll be likely fine if you spill just a bit and wipe it carefully, but the tape is essential).

Some people suggest covering the surface with nail polish instead (wat?). I have not tried it as I don’t polish my nails typically. ;-P
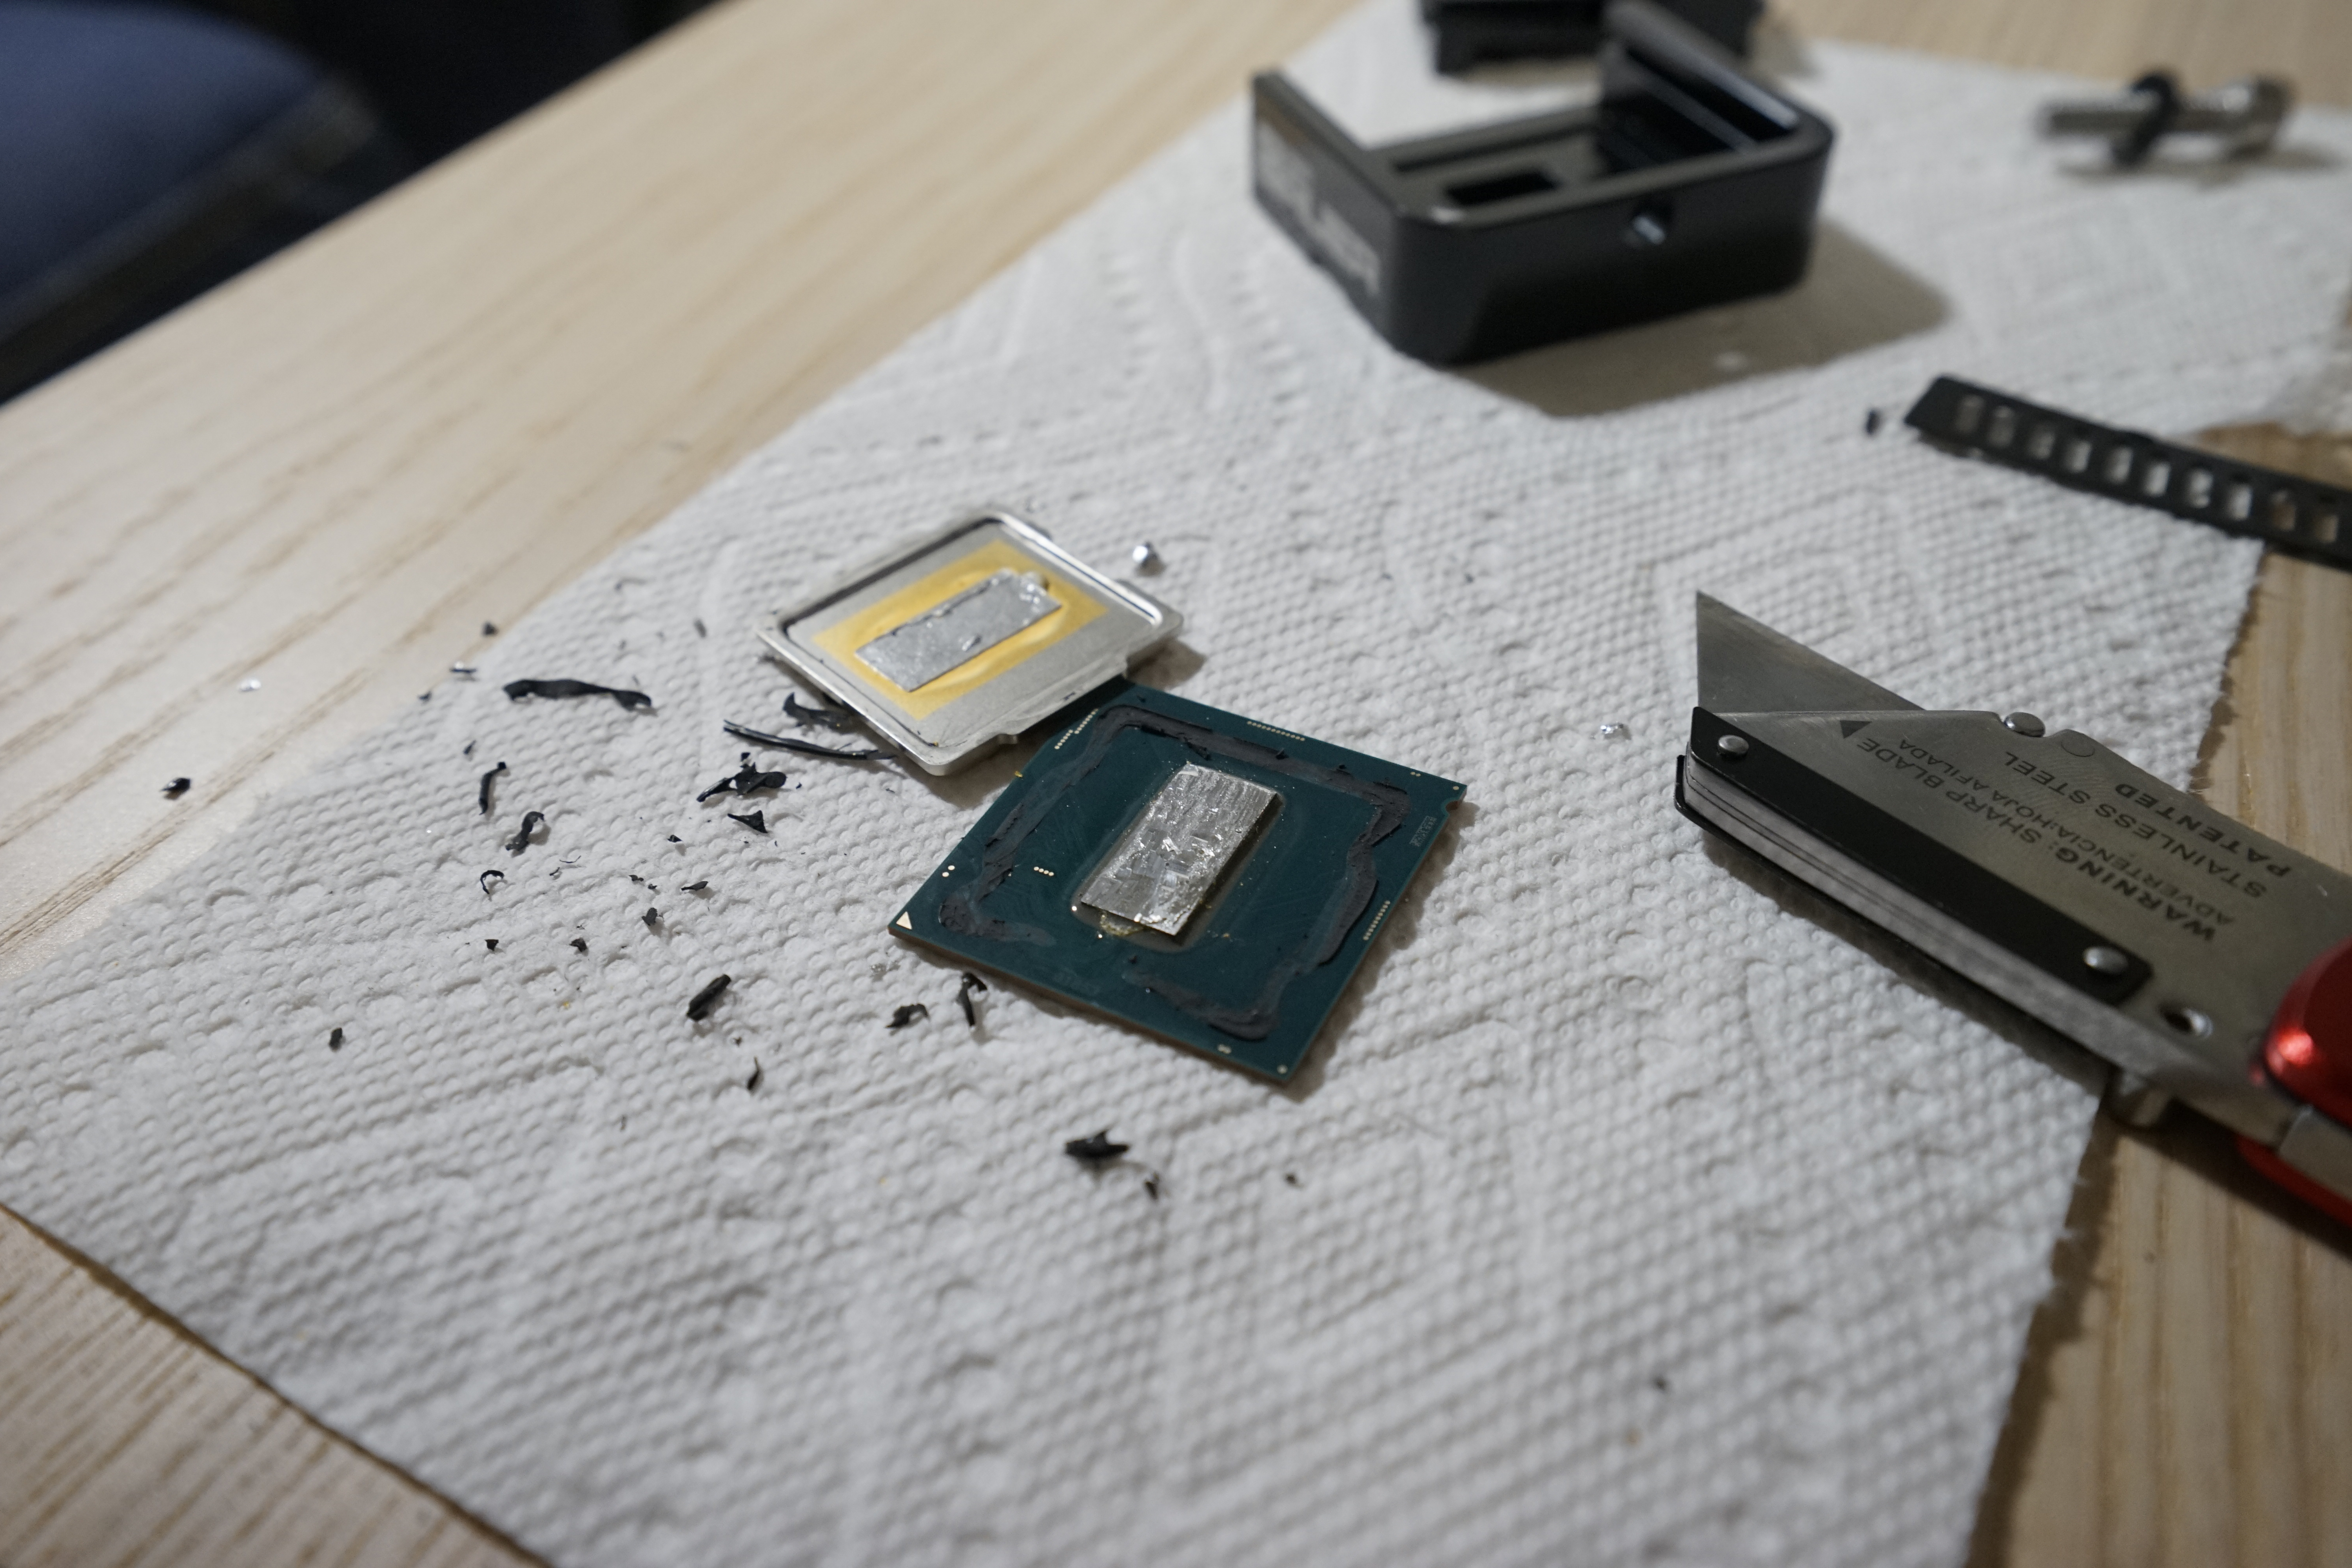
Step 6: add a little bit of liquid metal
Liquid metal works in tiny amounts (see instruction here) Very slowly and carefully push out about a quarter-millimeter sized ball (use the needle-like tip). Practice on a paper towel first. Use the q-tip that comes in the box to spread it out.
On this picture I added a bit too much on the chip (it worked though) and a bit too little on the heatsink:
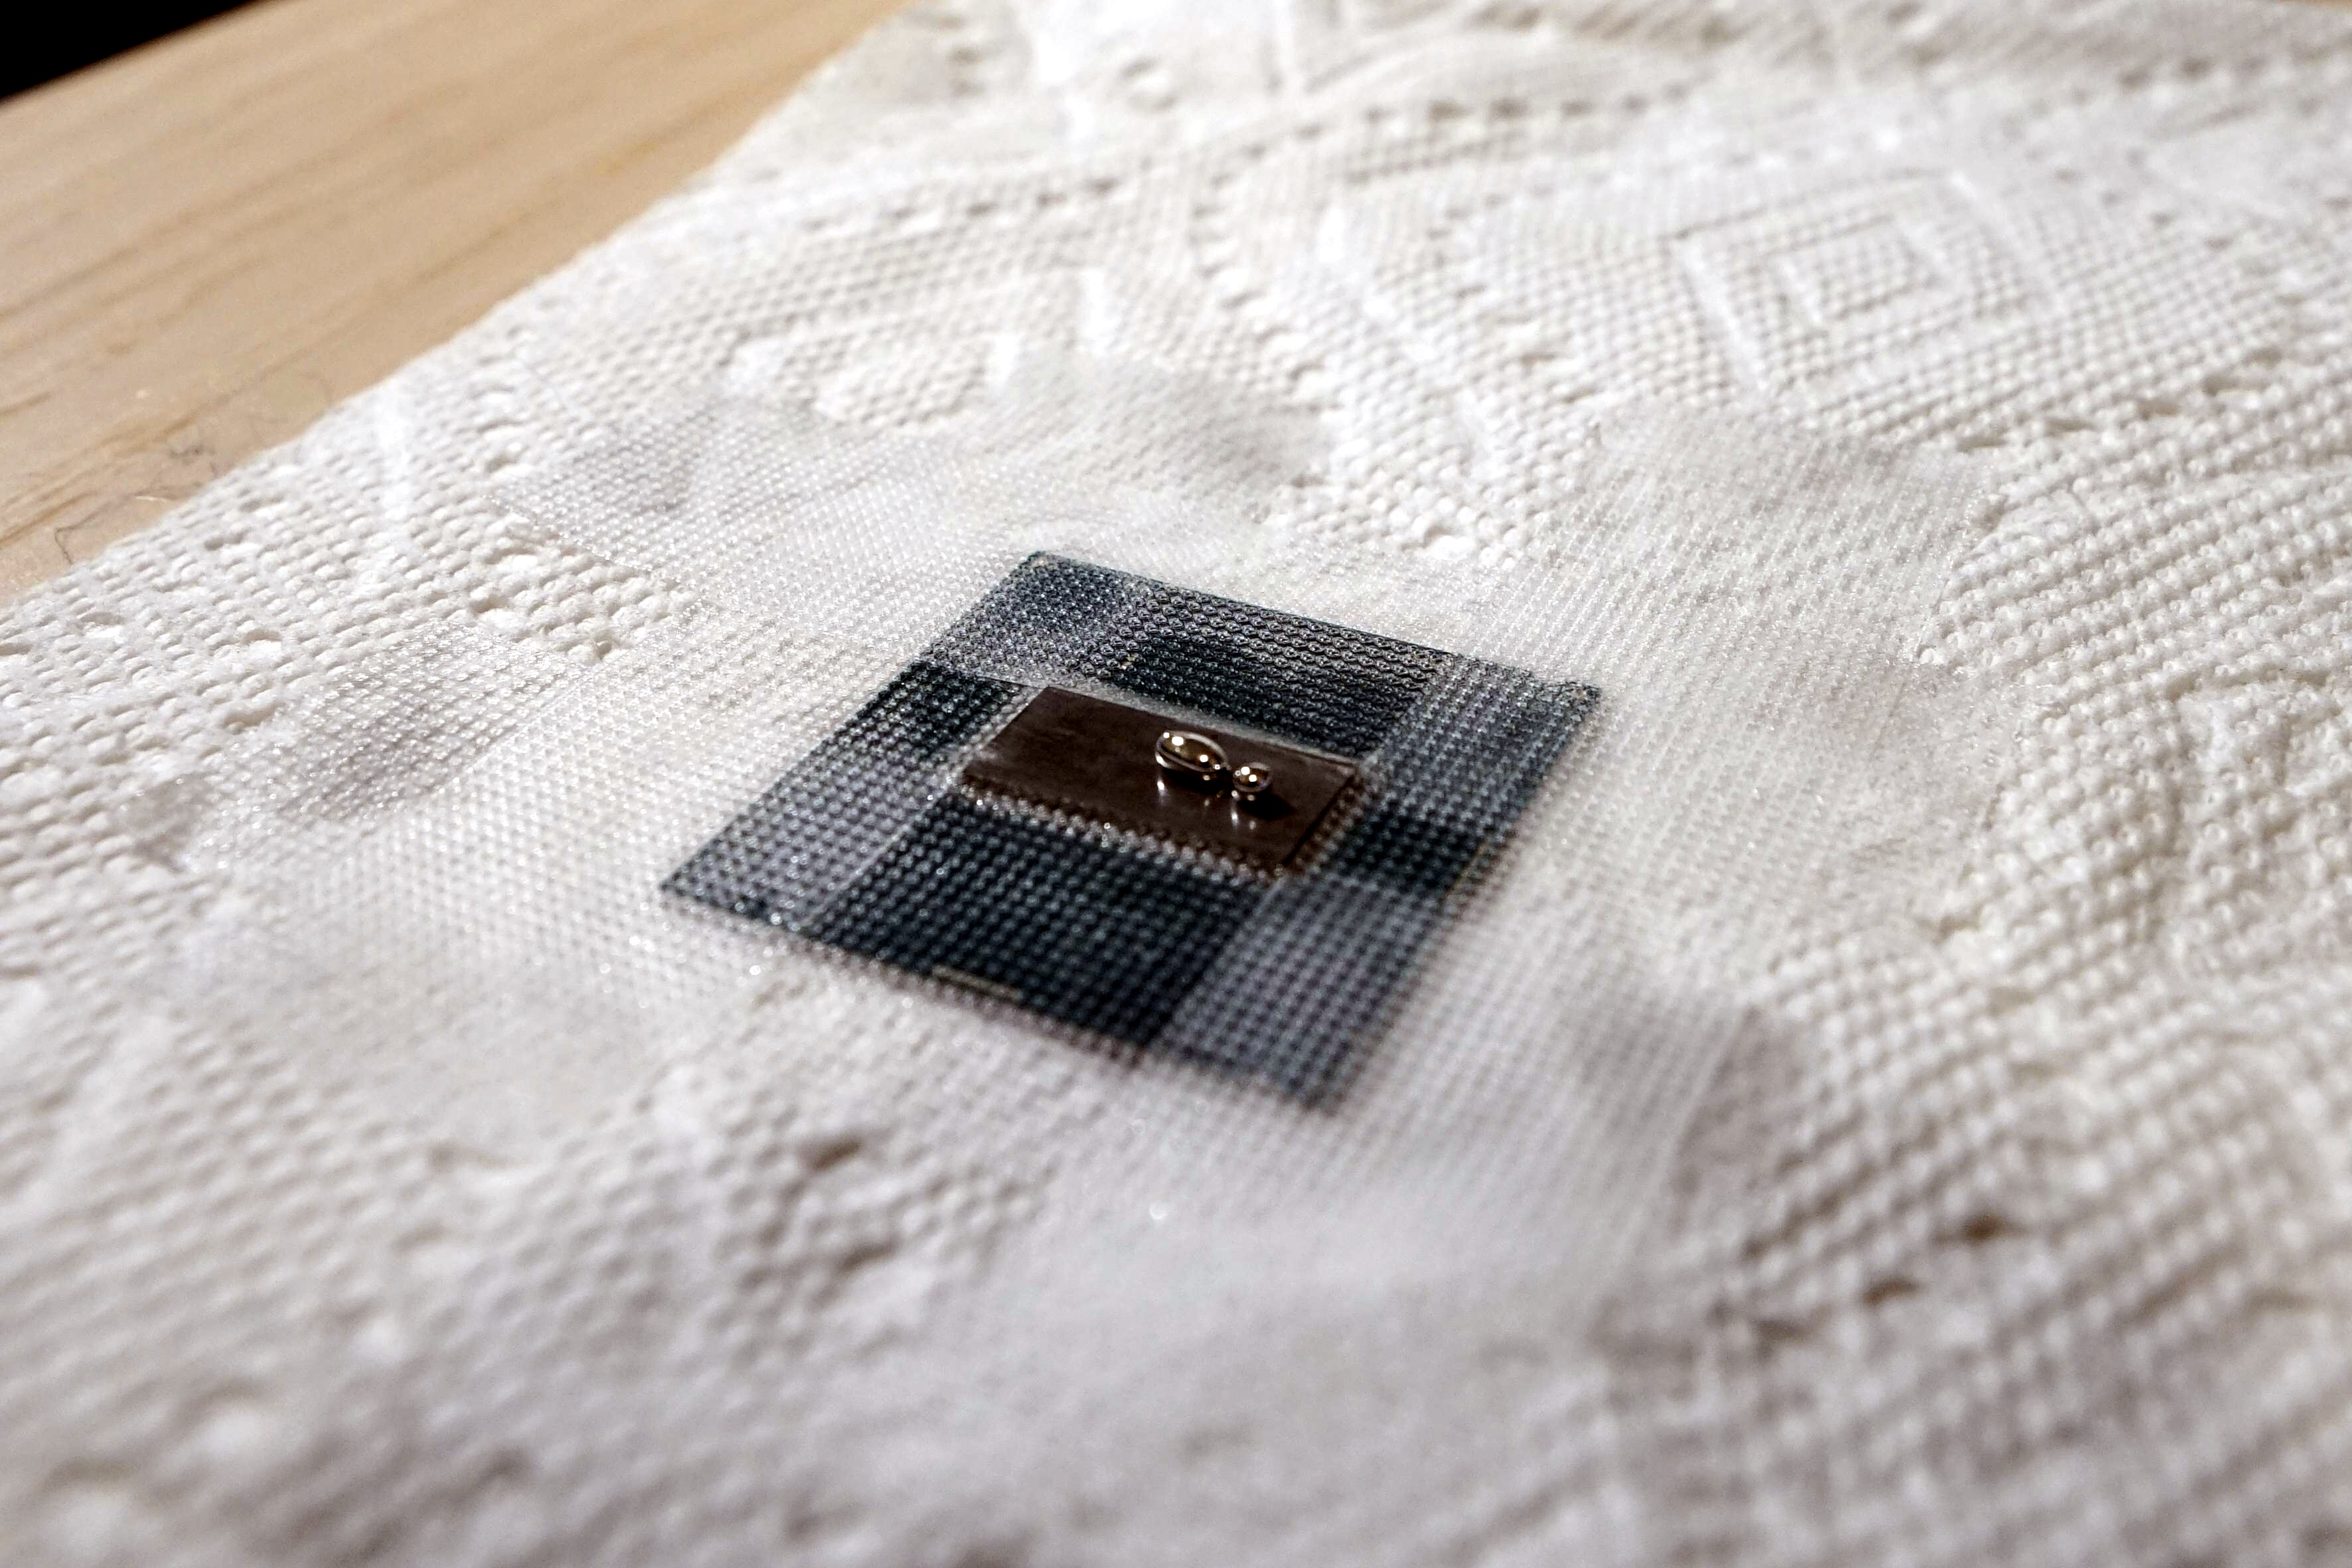
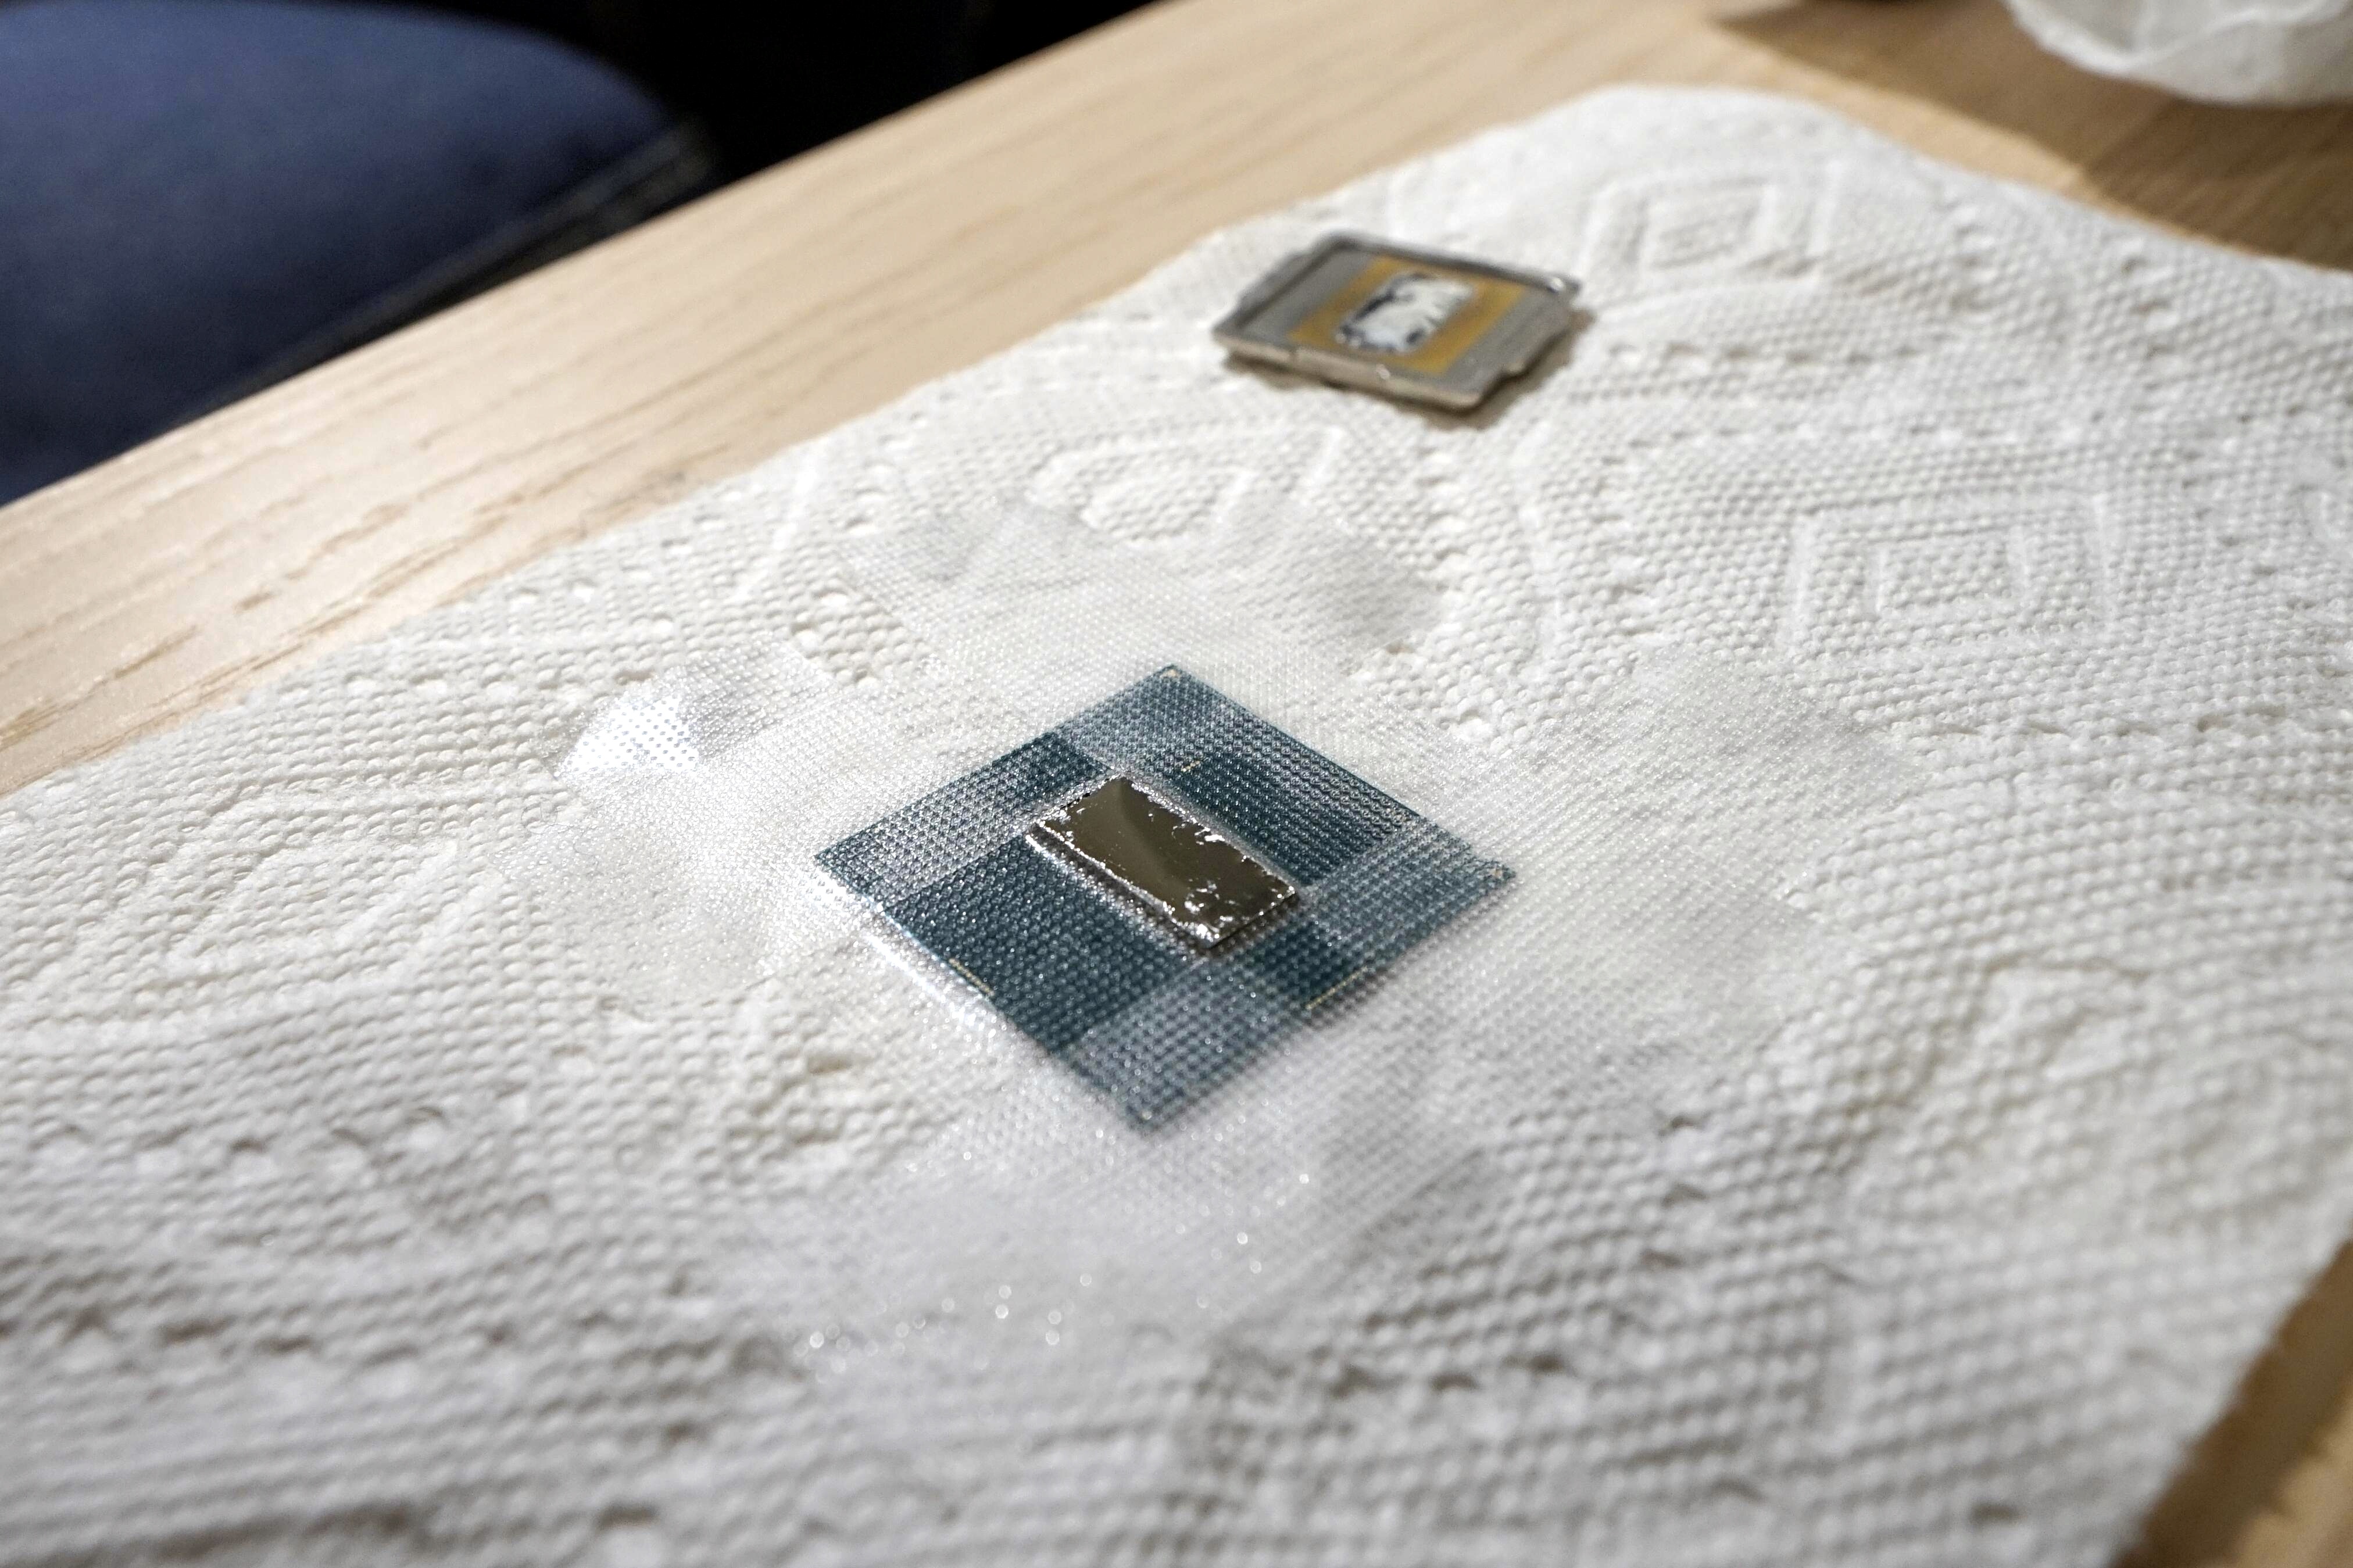
Keep adding little bits and spreading. It will sometimes seem that you squeeze it out, and nothing changes, but the added metal just makes the “pool” a tiny bit taller. You don’t want it like a “pool” at all: it should be messy a bit, and it should not go “up” at the edges not “reflect” like a mirror.
Step 7: Remove the tape
The tape must come off easily. If you added too much metal, siphon it back into the syringe using the other tip.
Step 8: Add a tiny bit of silicone glue to all edges of the heatsink
Put it on all edges the same way it was before. Use small amount (1mm tall at most), but it’s ok since it’s not conductive.
Tip: cut the gasket diagonally with scissors so it’s easier to spread on a horizontal surface.
Step 9: glue it back using the delid tool
Glue it back. The instructions tell you to be careful as to not damage the CPU. I found I was too careful thefirst time around: it ended up a bit squishy. So the next time I screwed it in until it didn’t go any more.
Wait for… idk, I left it overnight. Clean out the excess glue from the outside with a paperclip so it’s nice and tidy.
Step 10, optional: photograph the top of the CPU (serial number and stuff)
If you have some liquid metal left and you want to use it between the cooler and the CPU, then you’re seeing these numbers at the top of the CPU for the last time. Liquid metal is nasty; it binds to other metal and is impossible to clean. You can sand it off, but you’ll be sanding off the top layer of the paint.
Step 11: put it back in, measure the results, and tell me what you got the comments!
Because I have no clue if it all was worth it. Tom’s Hardware says it would be, but others don’t seem to think so.